Posted on Date 20th Dec 2023
How To Lay Metro Tiles
Laying Metro Tiles
If there is one tile that is known the world over, then it has to be the Metro tile (also known as subway tiles).
Inspired by the look of the London Underground, from contemporary kitchens to traditional bathrooms, minimalist spaces to maximalist rooms, and everything in between, today there is a Metro tile to suit all tastes and budgets today.
In this guide, we will show you just some of the ways you can lay metro tiles in different ways, as well as how to cut and grout tiles for your home projects.

What are the different types of Metro tiles?
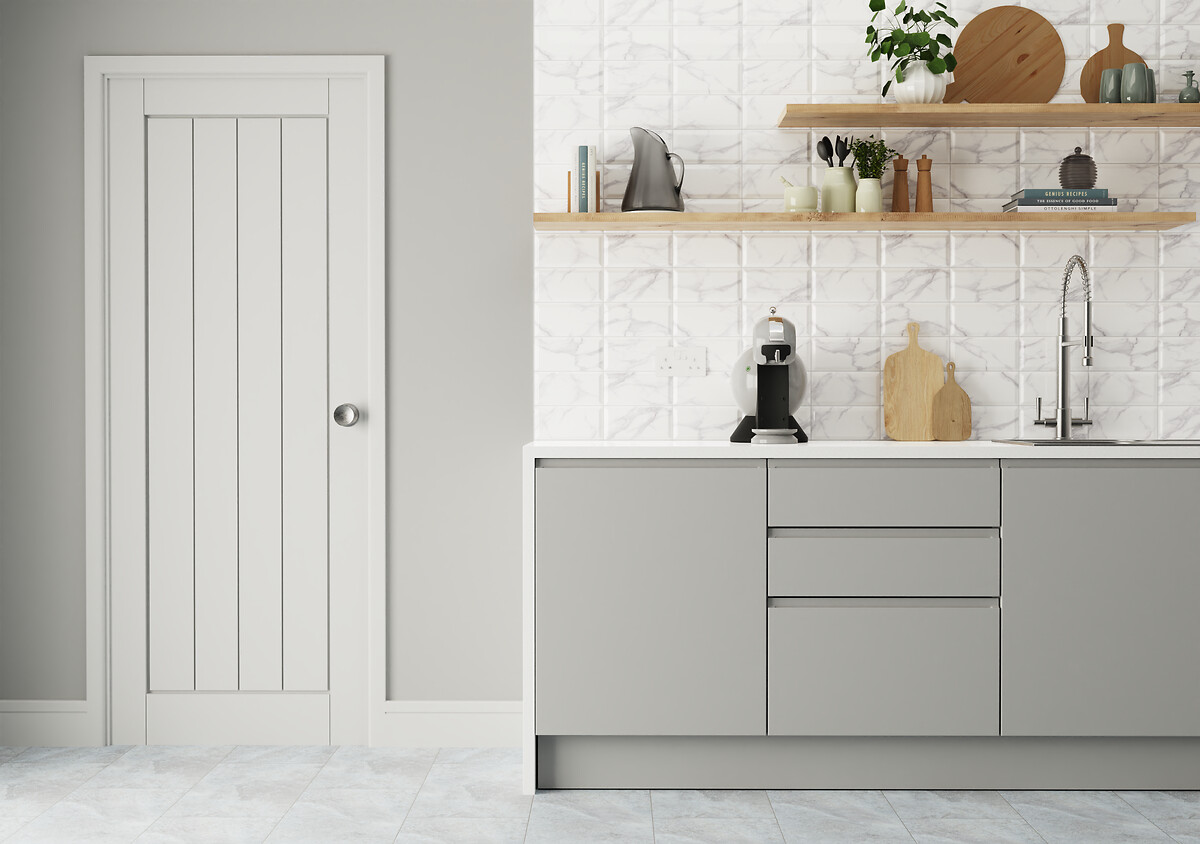
You are spoilt for choice when it comes to the different types of Metro tiles on the market. They range from classic white Metro tiles to the new marble-effect Metro tiles which are proving extremely popular with homeowners looking for a wall tile with a twist.
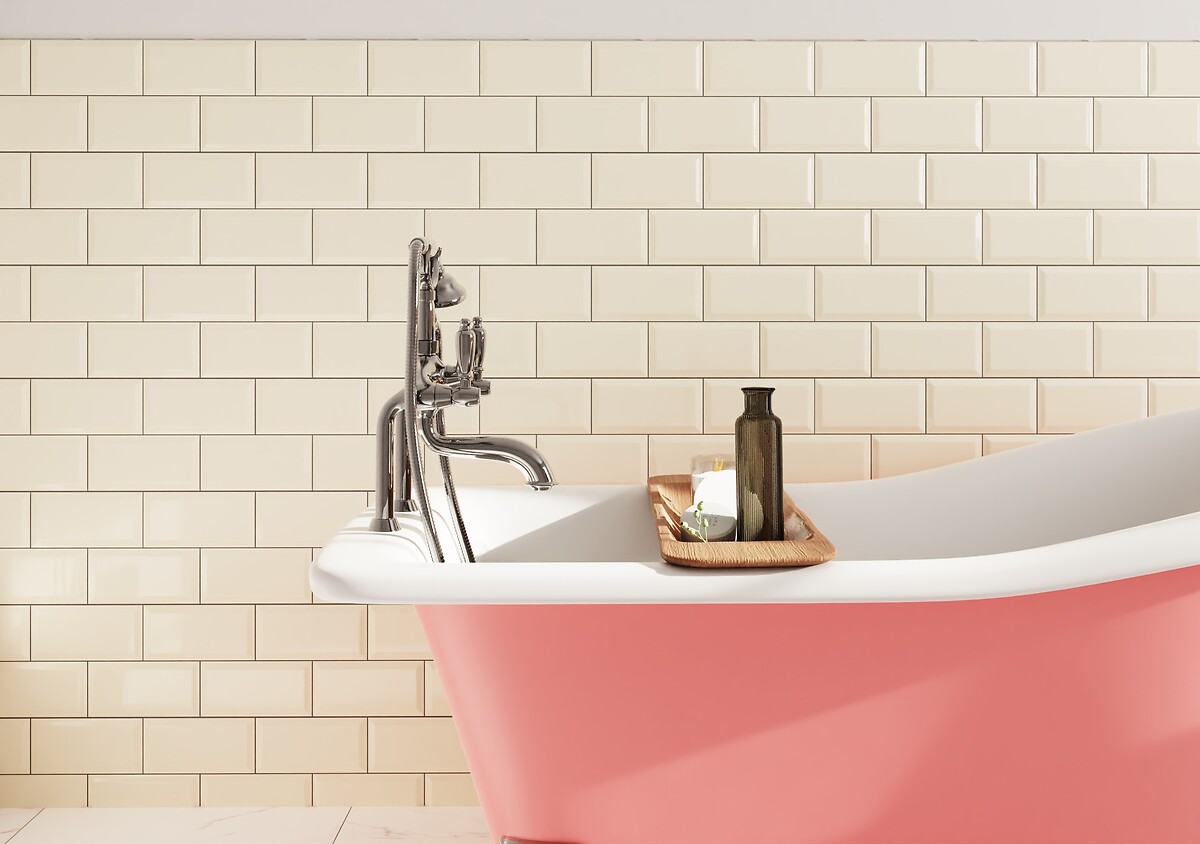
Metro tiles don't just come in white. While still very much the favourite, today you will find Metro tiles in virtually every colour under the rainbow with black, cream, green and grey among our pick. Metro tiles also come in a variety of sizes and finishes such as well as gloss and matt.
What tools do you need to fit Metro tiles?
If you are thinking of tiling Metro yourself then we would recommend adding the following tiling tools and accessories to your DIY toolbox:
The last thing to do is make sure you have all your tools on hand before you start tiling. And, if by any chance, you have forgotten anything you can always visit our Tools & Accessories section of our website and order the missing items for next working day delivery.
The best way to lay Metro tiles
One of the reasons for the continuing popularity of the Metro tile is its ability to be laid in a variety of ways. This is why we've selected some of the most popular metro tile laying patterns to help you select the right laying direction for your room.
Brick Bond Pattern
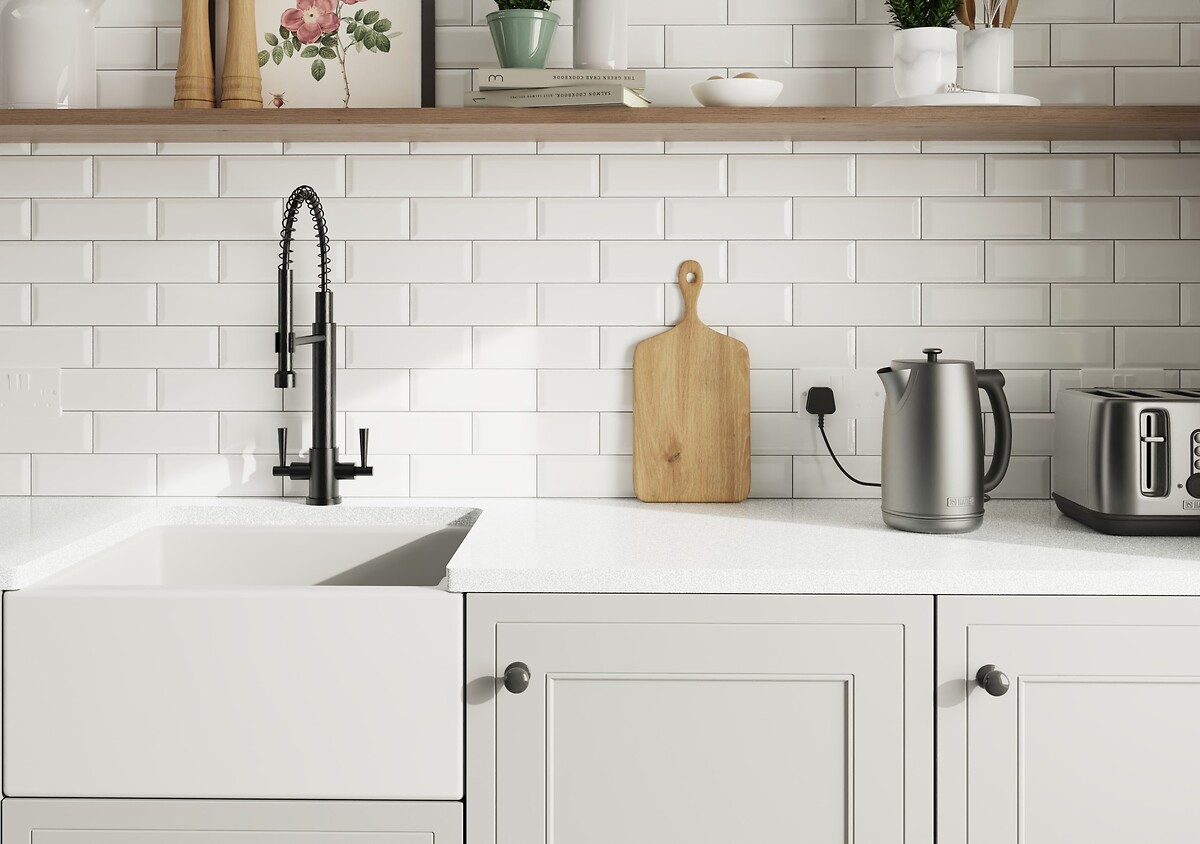
The most common way to lay the Metro tile is using the brick bone pattern (also known as the 50:50 method). To achieve this classic look simply line up the end of each tile with the centre of the tile above and below to create the look of laid bricks.
You can always mix things up with a random different colour tile or a contrasting grout colour. Don't forget to order at least 10% more tiles to allow for breakages when attempting this or any other pattern at home.
Linear Pattern
If you're after a more contemporary look and feel for your tiles at home, then the linear brick pattern is ideal. Unlike the brick bond method, you just need line up all the tiles with all the grout lines matching to give some uniformity to your tiles. Don't forget you can always use a different coloured grout to add some definition the edges of your tiles.
Vertical Pattern
You can also mix things up further by laying your tiles out vertically (rather than the traditional horizon) in a brick bond or linear pattern to help make your room feel that bit taller. The only consideration is that your tiles must be at a ratio of 70:30 (otherwise known as the staggered pattern) to prevent any bowing once they have been laid.
Herringbone Pattern
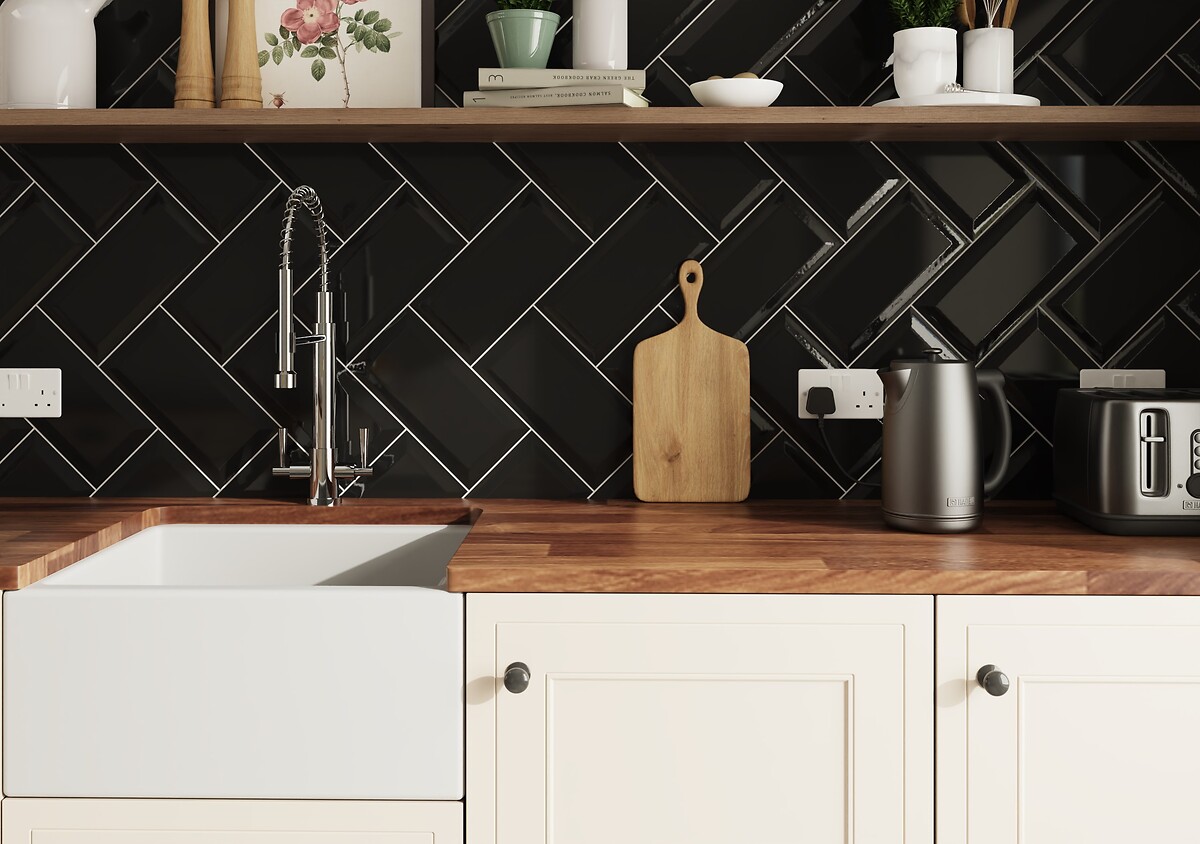
One of the most popular tiling patterns of recent years has been the herringbone. Designed to create a real sense of space, especially in smaller rooms, a herringbone tile pattern works really well as a backsplash in a kitchen or a feature wall in a bathroom.
To achieve this look simply take the short edge of one tile and place it on the long side of one of the other tiles. This is then repeated up or along the wall. It's always advisable when attempting a pattern like a herringbone to give it a dry run to make sure you feel confident before mixing any adhesive and laying your tiles on your wall for real.
It's also worth considering using a contrasting grout to define your herringbone tile pattern, or alternatively, select a grout that matches the colour of your tile to create a more free-flowing pattern in your home.
How to grout metro tiles
Preparation is key when is come to grouting metro tiles, so before you start make sure you have the following to hand:
- Tile grout: Depending on the look you want the specific room you are tilling, you might want to choose different grout. There are plenty of colours and types of tile grout that match your project
- Spreader tool
- Sponge and bucket
- Trowel
Once you have all the tools required for this project, simply follow these steps to grout metro tiles:
- Prepare the tile joints: Make sure your tiles are clean and place them in your desired laying pattern.
- Mix the grout: It is important to mic the grout before applying it to your tiles - failure to do so may result in a less-than-perfect finish. The grout that you choose might have differences in mixing, so follow the instructions on the grout to create the right texture.
- Apply the grout to the metro tiles.
- Remove excess grout: You can use a fry sponge to remove the excess grout.
- Clean up the tile surface: Now, use a moist sponge to remove the excess grout.
- Form your lines: To create a neat and smooth grout line, place a dry sponge on the line and use your index finger to push it along the line to make an even finish. Remember not to push to hard, or you might pish all the grout out.
- Apply grout sealer: If you are going to have metro tiles in wet or high-traffic areas, you should seal the tiles. When applying sealant, wait at least 48 hours after applying the grout.
What colour grout should I use for metro tiles?
The colour grout you use with you metro tiles can significantly impact the ambience of the space. To spark some inspiration, here are just a few ways in which you can choose your choice of grout colour:
- Matching: For a seamless look, opt for a grout colour that matches the colour of your tiles.
- Contrasting: For a trendy, dramatic design, try light tiles with dark grout or vice versa.
- Complementary: For a well-coordinated design, use coloured grout with tiles of a similar hue. For example, you can par our Metro Sage Tiles with a Beige Grout.
How to cut metro tiles
Whatever your tiling project, it is likely that you will need to cut your tiles, be that to fit around plug sockets, pipes or an obstacle.
You'll need the following equipment to cut metro tiles:
- Tile cutter
- Tape measure
- Goggles and gloves
- Tile marker
- Tile file
As there are many types of tile cutters, we recommend investing in a high quality tile cutter, as these will help you achieve a better finish. Always make sure that the blade or cutting wheel is as fresh as it can be.
To cut Metro tiles using an electric cutter, simply follow these steps:
- Measure where you want to cut with a tape measure.
- Mark out where you want to cut on the tile with a marker.
- Cut the tile using the cutter.
- Use a tile file, to smoothen any sharp edges.
There are two things to keep in mind when cutting Metro tiles:
- Wear protective gear as exposed edges and broken tiles can be dangerous.
- To guarantee that your cuts are accurate the first time and that no tiles are wasted, measure twice and cut once.
What tile spacers to use for metro tiles
A tile spacer will help you to achieve a level and even tilling. Tile spacers often come in a range of sizes from 2mm to 10mm. Different project will require different tile spaces, so it is best to ask the store you are going to buy the spaces what they would recommend you to use.
At Tile Warehouse we have carious lengths, shapes and pack sizes of tile spaces to match your tiling needs. If you are wondering what tile spacers to use for your metro tiles, please contact our Customer Service team using our web chat facility.
Watch our video
If you would like to know more about fitting wall tiles, make sure to watch our video. We've teamed up with YouTuber Proper DIY to show you the best way to install wall tiles at home. Its packed with useful tiling tips and techniques.


