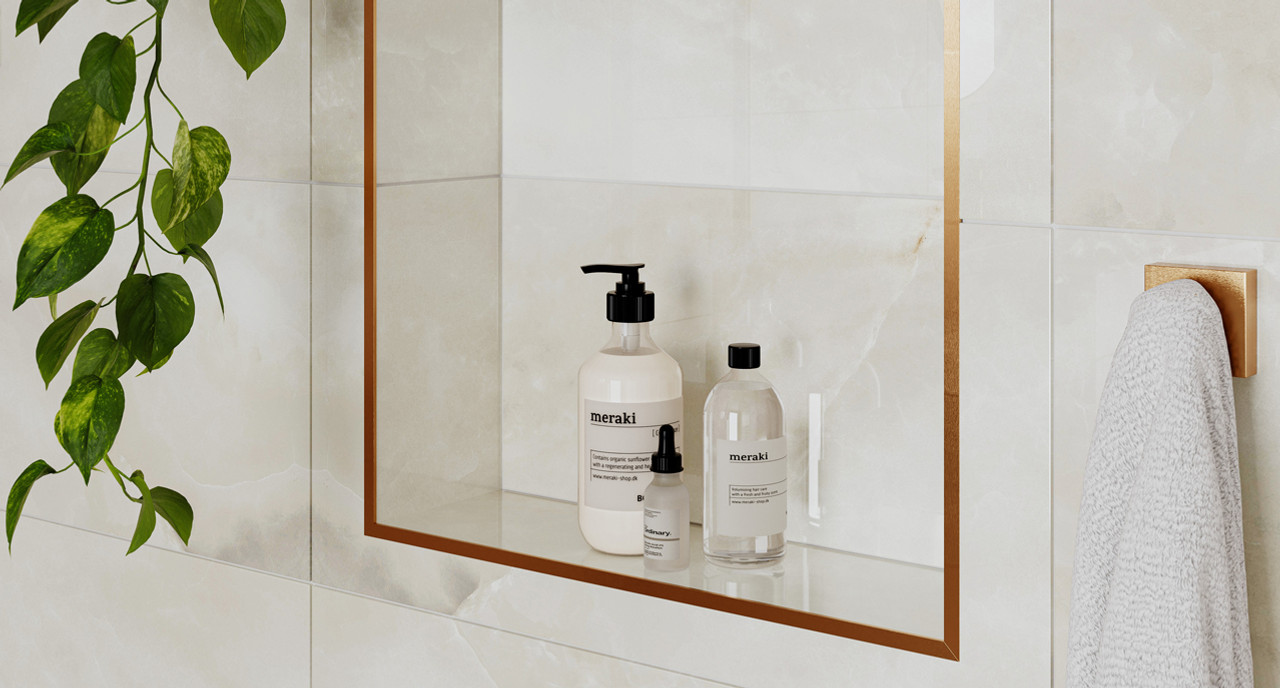
Posted on Date Posted by Shaun Farey on 27th Jan 2025
How to Fit Tile Trims
How to Fit Tile Trims: A Step-by-Step Guide
Fitting tile trims is an essential part of any tiling project, ensuring a professional finish and protecting the edges of your tiles. Whether you're a DIY enthusiast or a professional tiler, this guide will walk you through the process of fitting tile trims effectively.

Step 1: Choose the Right Tile Trim
Before you start, it's crucial to select the appropriate tile trim for your project. Tile trims come in various materials, such as aluminum, PVC, and stainless steel, and in different profiles like round edge, square edge, and straight edge. Consider the style and function you need.
Recommended Products:
- Tile Trim 12.5mm Marble Effect Straight Edge (2.5m)
- Outdoor Matt Grey Box Trim (2.7m)
- Outdoor Perimeter Trim Grey (2.7m)
- Or check out our complete range!
Step 2: Measure and Cut the Tile Trim
Measure the length of the area where you will be fitting the tile trim. Use a hacksaw or a trim cutter to cut the trim to the required length. Ensure the cut is clean and straight for a neat finish.
Tools You Might Need:
Step 3: Apply Adhesive
Apply a suitable tile adhesive to the area where the trim will be installed. Make sure to spread the adhesive evenly to ensure a strong bond.
Recommended Adhesive:
Step 4: Fit the Tile Trim
Press the tile trim into the adhesive, ensuring it is aligned correctly with the edge of the tiles. Use spacers to maintain a consistent gap between the tiles and the trim.
Accessories:
Step 5: Install the Tiles
Once the trim is in place, you can start installing the tiles. Apply adhesive to the back of each tile and press them firmly against the wall or floor, ensuring they are level with the trim.
Recommended Tiles:
Step 6: Grout the Tiles
After the adhesive has set, apply grout to the gaps between the tiles and the trim. Use a grout float to spread the grout evenly and a sponge to clean off any excess.
Recommended Grout:
Step 7: Finishing Touches
Finally, check the alignment and finish of the tile trim and tiles. Make any necessary adjustments and clean the area thoroughly.
y following these steps, you can achieve a professional and polished look for your tiling project. For more tips and high-quality tiling products, call our professional team!


