Posted on Date 20th Dec 2023
How to tile over floorboards
Find out how to tile over floorboards
If you want to know how to tile over floorboards but youre not sure where to start, youve come to the right place. Tiling can be difficult, but with the right help and advice youll create a tiled surface thatll look great for many years to come.
Begin your tiling journey in style discovering the tools youll need, the preparation required and how you can avoid rookie errors. Whether youre an avid DIYer or are new to tiling, this handy guide on how to tile over floorboards is for you. Read on for our top tips.
Why you shouldnt tile directly onto floorboards
If youre thinking of skipping the backer board stage and jumping straight into tiling let us stop you right there! Sure, covering your floor in plywood or special tile backer boards might seem time consuming (and involve more expensive), but there are many reasons why you shouldnt tile directly onto floorboards.
Floorboards move around more than you know. You might have heard the odd creak here and there and thats because wood is flexible and susceptible to movement underfoot. If you place tiles directly on top of an uneven surface thats prone to movement, then your tiles and grout will crack or lift over time, completely undoing your hard work.
So, while putting down back boards might seem like a tedious step now, its one of the most important stages.
Preparing your floor for tiling
Tiling over floorboards requires careful preparation and there are quite a few things to consider before you get to the actual tiling stage. From finding a suitable surface to tile and repairing any damage or creaks to measuring up and laying your backer boards, you must know the most important steps of tiling over wood.
How to measure your floors
Its important to measure your floors carefully so that you can buy the right number of tiles. At the start of your DIY project, measure the floor and calculate how many square metres of tiles youll need.
You can do this by multiplying the length of the area by the width. We recommend buying 10% more tiles than you think you need just in case any get broken or damaged during the installation process. Whats more, if the tile range is discontinued at any point, youll have spare tiles should damage occur a few years down the line.
Make sure your floor is suitable
Before tiling over floorboards, you must check that the surface is suitable. All floorboards should be well secured and not loose or creaking.
If there are any broken floorboards these should be replaced. Floors should be sufficiently rigid and stable as the more movement there is, the more likely your tiles will crack and lift. As well as being strong, your floor should also be clean and dry before you begin tiling.
The benefits of using backer boards
Backer boards are essential part of tiling over floorboards, but they should not be used to cover creaking or broken floorboards. These should be fixed first before you lay your backer boards. Once
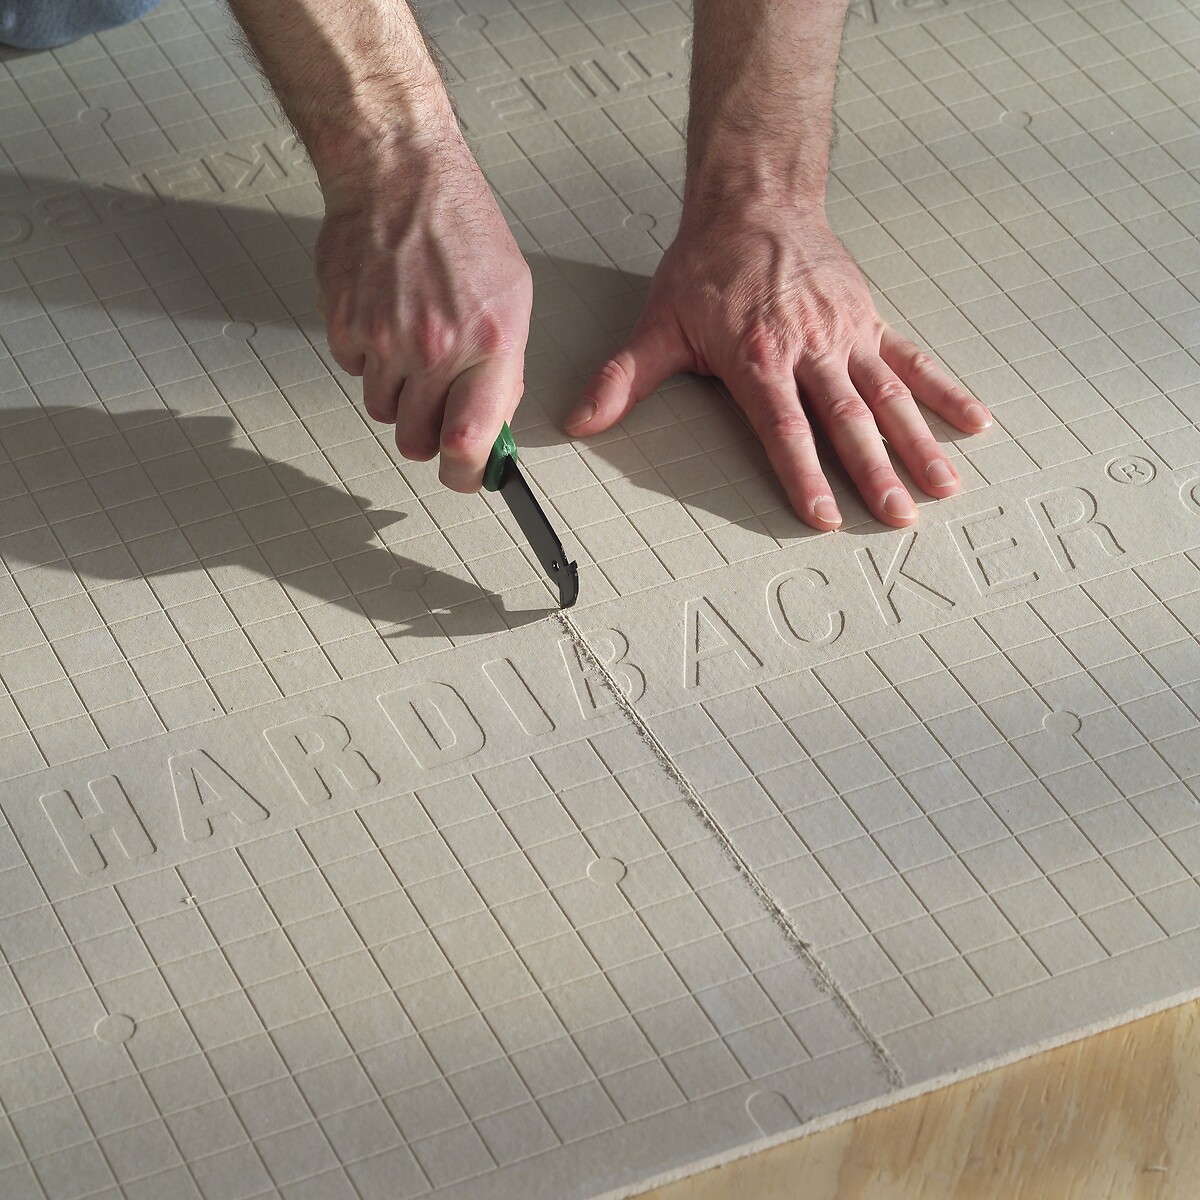
Once youre happy with the condition of your floorboards, its time to lay your boards. In the past, many people used to tile directly onto plywood, but things have moved on and rigid, durable backer boards such as Hardiebacker are now the preferred tiling base. Hardiebacker boards are available in various thicknesses with both 12mm and 6mm boards available.
Tiling boards should be cut to size and applied using a caulking gun. Start in an open corner and work your way across the room. Use your foot to tap each board down to ensure it has properly adhered to the surface underneath. Once the backer boards are down, you should apply a primer and let it dry completely before beginning the tiling process.
Tanking your surface: a step by step guide
If youre planning on tiling a wet room such as a bathroom, its really important to tank your surface. Not all floor tiles are water-resistant and even if they are, future cracks or gaps in the grouting or sealant, might lead to damage if waterproofing hasnt been carried out. To find out more about tanking click here.
Step 1
Start at your centre point and use a gauging trowel to place your tile adhesive on the floor and a notched trowel to spread the adhesive across an area of roughly one metre. Draw the serrated edge of the trowel back over the adhesive to create ridges. This will create an even depth.
Step 2
Place your first tile into the adhesive using a twisting action to make sure its firmly embedded. Repeat the process with the next tile. Use tile spacers to make sure theres an even amount of space between each tile for the grout.
Step 3
Use a spirit level to make sure your tiles are flat. If theyre not, use a rubber mallet to level them out. Remove any adhesive that appears on the top of the tile with a wet cloth as you go along.
Step 4
Once the entire floor has been tiled, wait for the adhesive to dry. This can take up to 48 hours, so make sure no one walks on the floor until this time has passed.
Step 5
If there are any gaps in the corners of your room, youll need to cut tiles to fit accordingly. Always wear gloves and goggles to do this safely.
Step 6
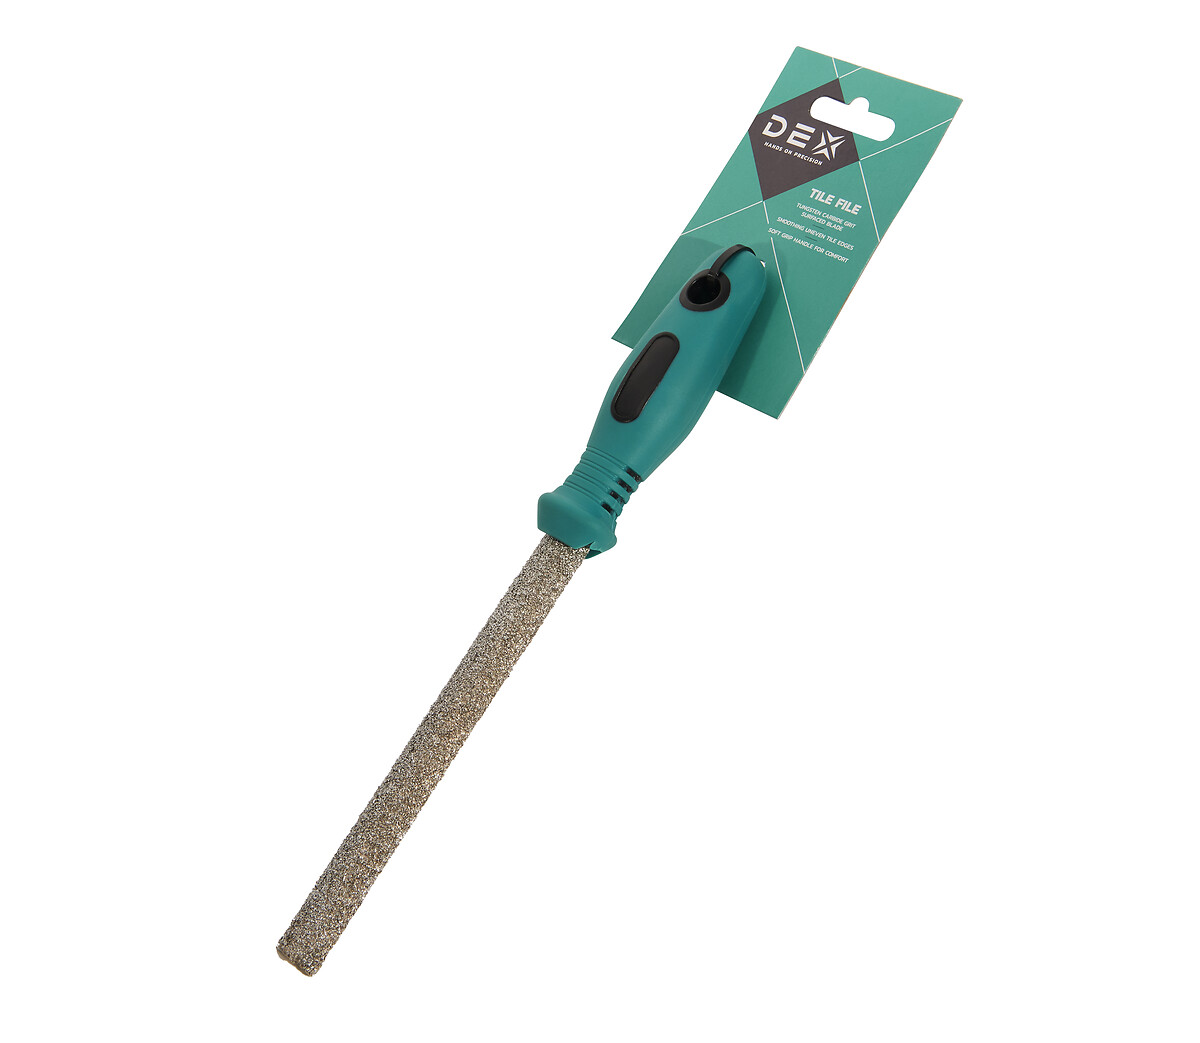
If the tile youve cut has rough edges, use a tile file to make these smoother.

The Dex Tile File has been specifically designed to smooth the uneven tile edges that you have cut to size at home
Tools for laying tiles on floorboards
Here are our recommended tools for laying tiles on floorboards.
- Tile cutters & nippers
- Tile spacers & levelling clips
- A bucket & mixing paddle for mixing adhesives and grouts
- A grout float
- A trowel
- A rubber mallet
- Sealant
- Cleaning solution, pads & sponges for end-of-tiling clean up
Long-lasting wood effect tiles
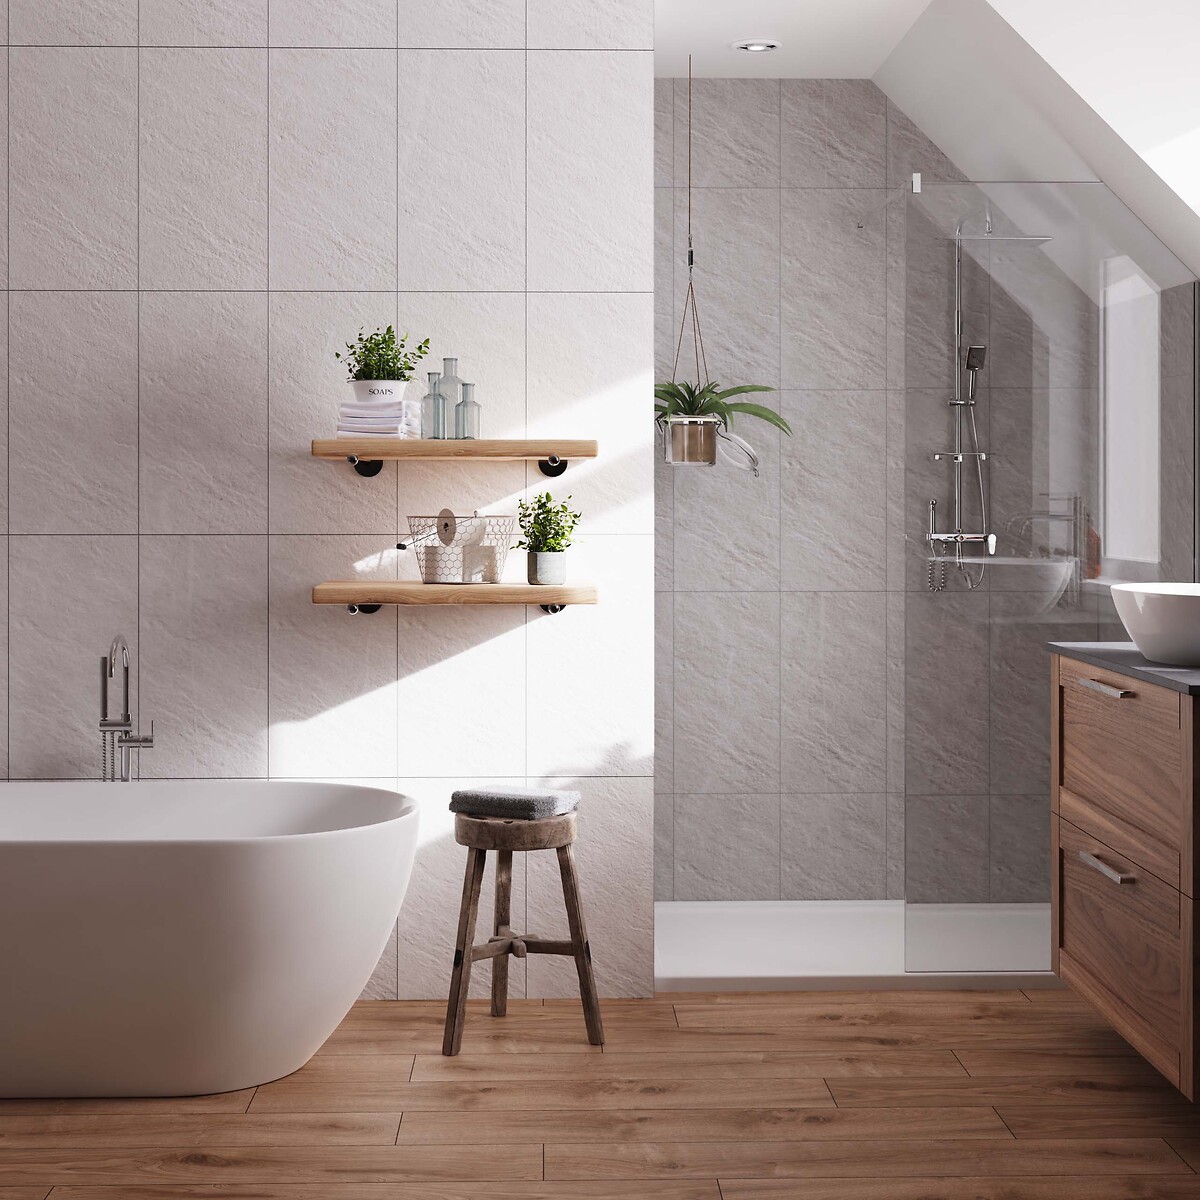
If you love the beauty of real wood but want to create a more solid, durable and easy-to-clean surface, then wood-effect tiles are ideal. Not only do they look wonderfully rustic but theyre great for high-traffic areas such as kitchens, bathrooms and hallways.
If you want to keep some of the real wooden floors in your home but would prefer tiles in some areas, wood-effect tiles will blend into your existing interior without ruining the aesthetics.
Long-lasting wood-effect tiles are perfect for rural barn conversions or beautiful farmhouse kitchens. They also look wonderful in contemporary spaces when teamed with minimalist colour pallets or splashes of colour.
Need more information?
If you have any questions regarding selecting the right tiles for your home, then feel free to contact our Customer Services team using our web chat facility.
Further reading
If you would like to know more about tiling over floorboards, check out these related advice guides below:


