Posted on Date 20th Dec 2023
How to tile a wall
The best way to tile a wall
Whether you are tiling a whole wall in your bathroom or just a splashback in your kitchen, tiling requires patience, planning and a bit of perseverance.
Thankfully Tile Warehouse is to here to help with this step-by-step advice guide to tiling a wall to help you achieve the best possible finish in your home.
However, before you begin tiling, its important to plan what you are going to do. Youll need to calculate the number of tiles you are going to need (check our Tile Calculator if you havent already done this) as well as the tiling pattern you are trying to achieve on your wall. Once youve done all of this and prepped your wall, so its nice and smooth, its time to start tiling like a pro!
What tools do you need to tile a wall?
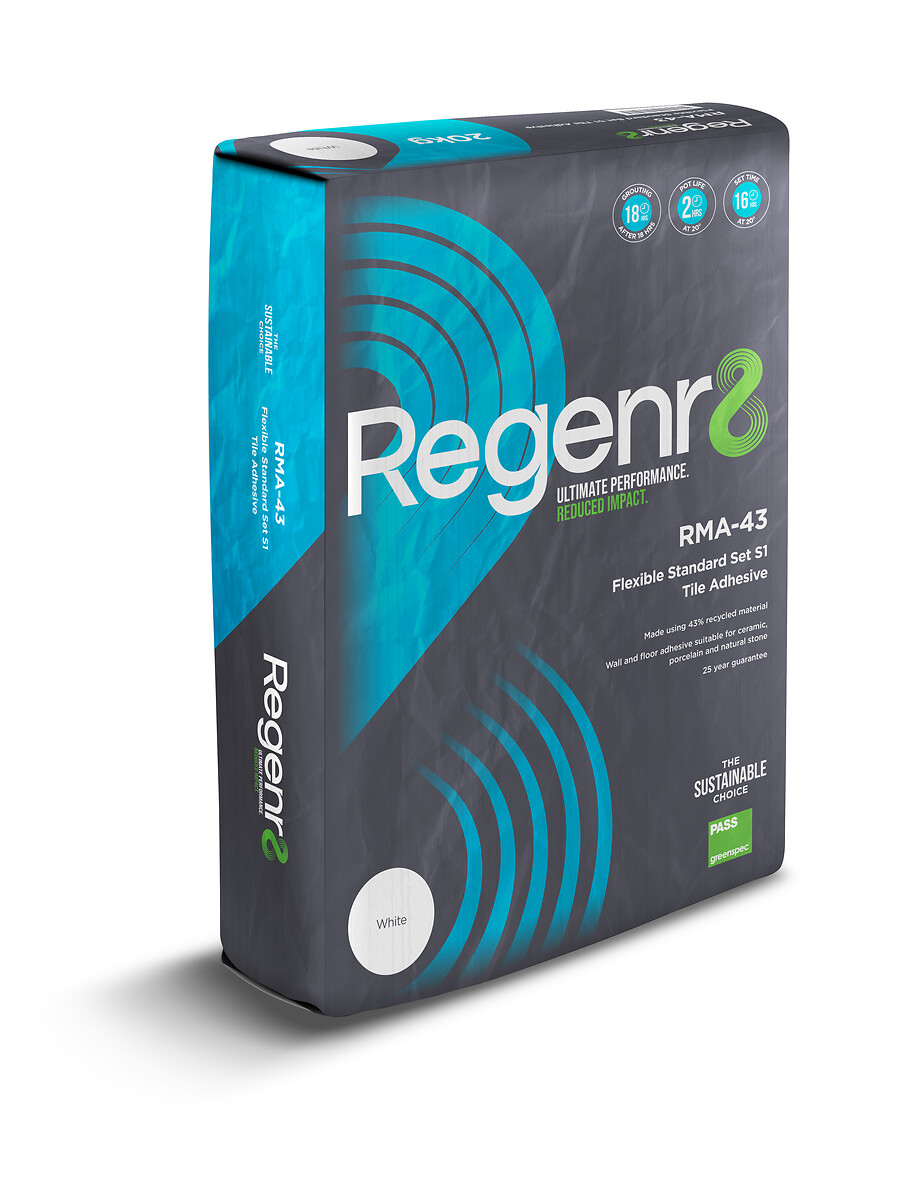
- Tile adhesive
- Grout
- Tile spacers
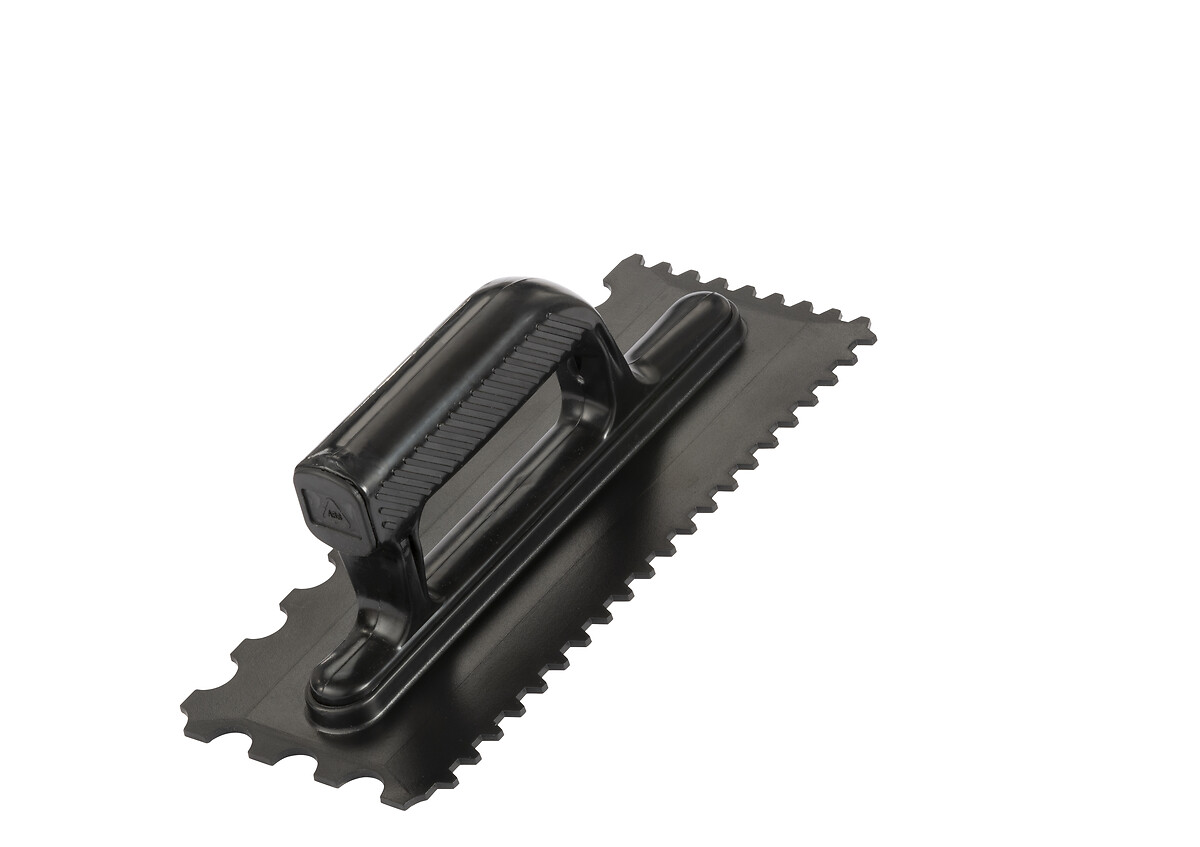
- Notched trowel
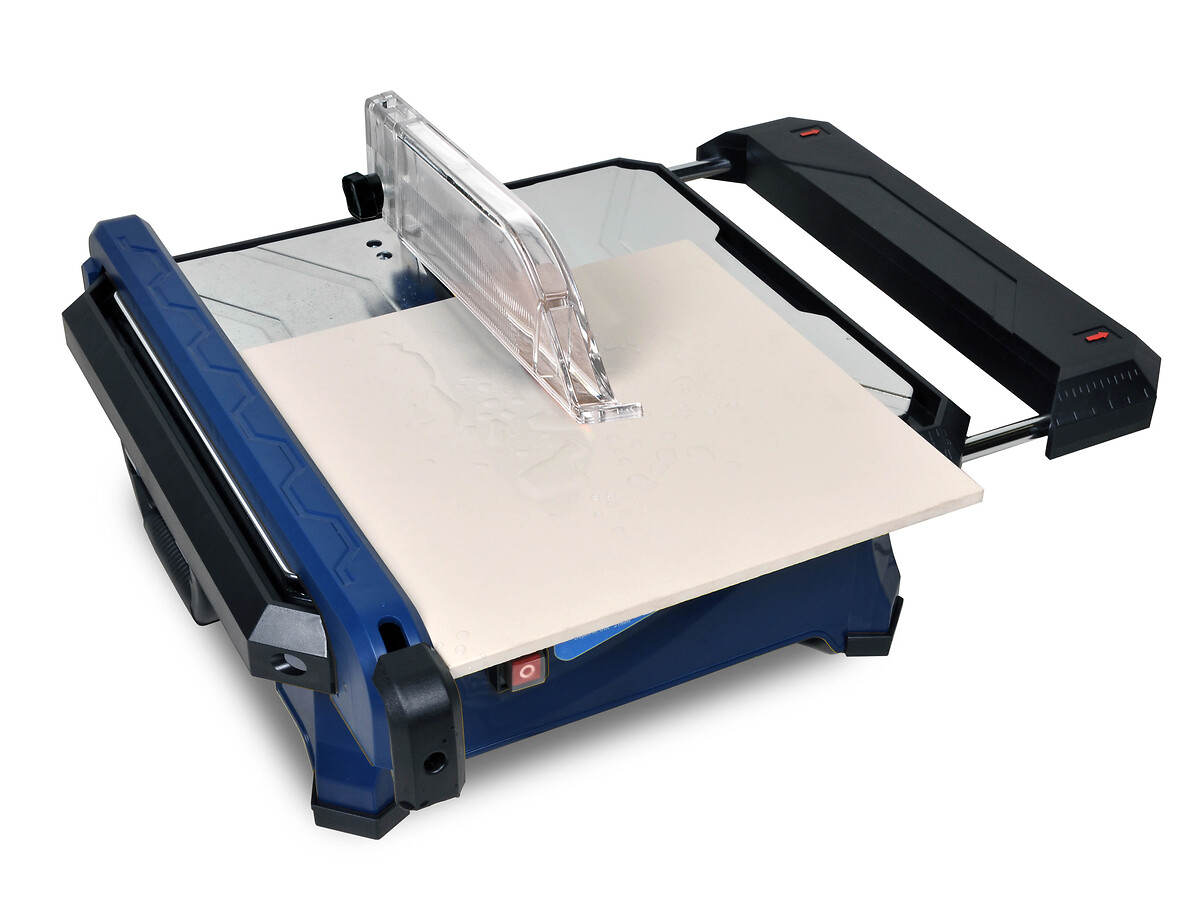
- Tile cutter
- Grout float
- Bucket and sponge
- Spirit level
- Rubber mallet
- Gloves and googles
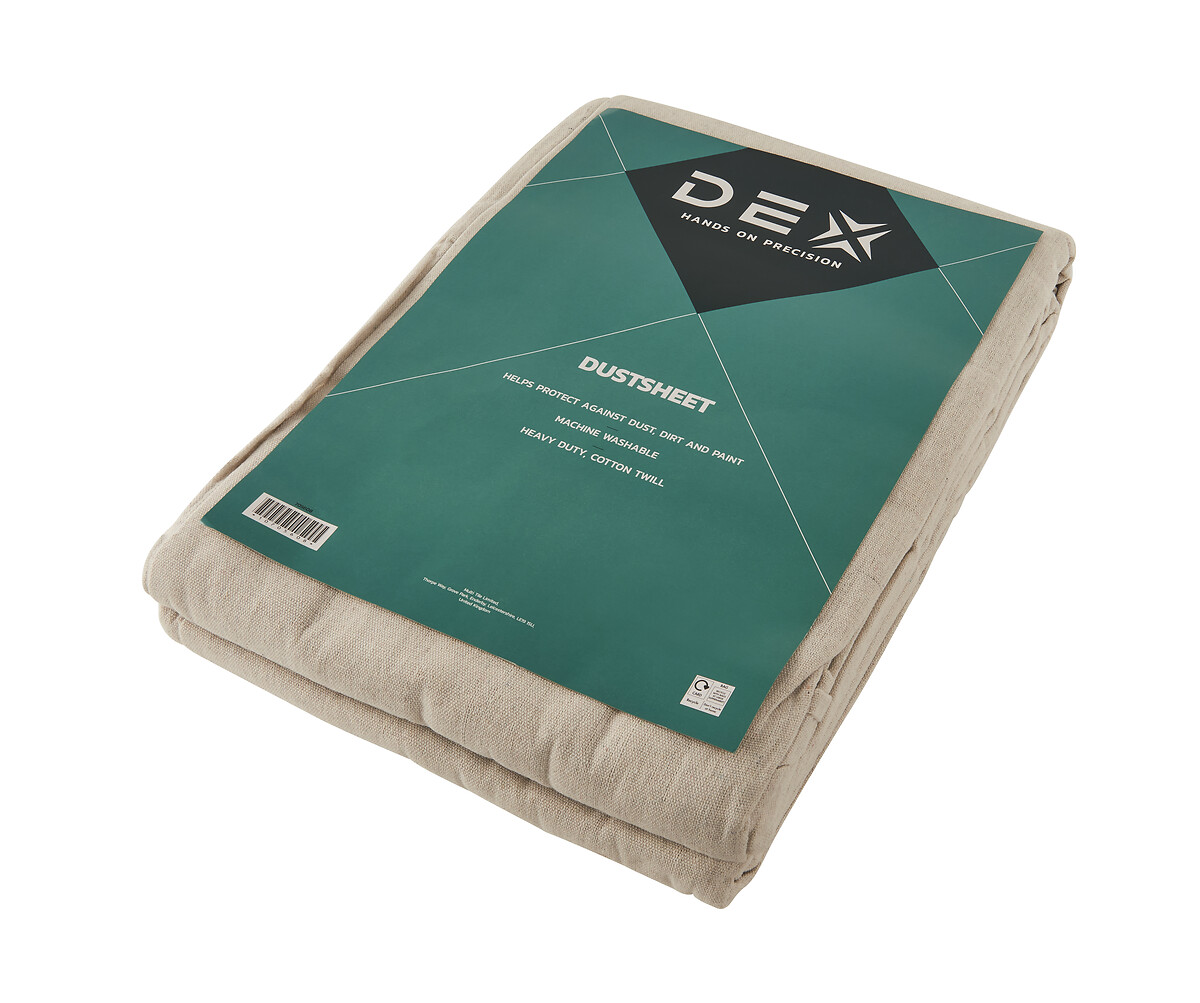
- Dust sheets
- Wooden baton
How to tile a wall: a step-by-step guide
Step 1
If you havent already, please make sure to cover the floor (and any furniture) with dust sheets as tiling can get messy.
The time-honoured method for ensuring straight lines when tiling walls involves nailing a wooden baton into your wall and using this as your guide. Before you do anything though make sure your baton is level using a spirit level.
Once you are sure that your baton is perfectly straight its time to get tiling. Remember to always start at the centre of the row and work your way out towards the edges.
Step 2
Next, mix your adhesive, making sure to always follow the manufacturers instructions. If you need help selecting the right adhesive for your project, make sure to read our blog on choosing the right tile adhesive for walls.
Once your adhesive is ready, scoop up a small amount of tile adhesive with the trowel and press it onto the wall above your baton, spreading it with your notched trowel at 45 degrees. This ensures that an equal amount of adhesive will get behind each tile before applying your first tile with a light twisting and pressing motion.
Place the next tile in the same way, not forgetting to insert tile spacers fully between your tiles and then repeat until you get to the end of the wall where its likely youll have to cut a tile.
While it can be tempting to apply all the adhesive in one go dont. Never apply more than one square metre at a time, as the adhesive could start hardening before youve got all your tiles in place.
Step 3
Once youre first line of tiles is done, check them over to make sure you are happy they are all straight and evenly spaced. If you have any concerns, just remove the tile and reapply with the same twisting motion. Its much easier to do this now than once the adhesive has set.
Step 4
If youre happy, then its time to remove your wooden baton and repeat the process on the next row. Remember to go easy on the adhesive and only apply enough for a square metre at a time.
And, as previously mentioned, always check your work as you go along. This includes cleaning any adhesive residue on the tiles using a damp sponge (as its a pig to get off once its dried). You may also need to clean out excess adhesive from the grout joints. If this is the case, try not to dislodge and adhesive behind the tiles.
Step 5
Now youve fixed all of the whole tiles, youre ready to fill the edges and corners of the wall. Using your tape measure, measured the required space, allowing for your grout lines, and then mark the necessary cut on your tile with a pencil.
Ceramic tiles are relatively soft compared with porcelain and most straight cuts can be done with a manual tile cutter. However, when it comes to porcelain tiles, together with more complex cuts, we would always recommend using an electric tile cuter. Better to be safe than sorry!
Step 6
Once youve cut your corners (excuse the pun!), apply a small amount of adhesive, spreading with your notched trowel to get that famous combed look, before fitting your remaining tiles. Again, check your work as you go along, and if youre not happy, lift and re-apply. That should be it for tiling on your wall. Now, its just a case of leaving the adhesive to dry and adhere your tiles to the wall before grouting.
How to use tile trims
Its quite likely that you will have bare tile edges on show, especially if you are tiling only part-way up a wall. You can always leave these tile edges, but we would always recommend using a tile trim. Not only do they look better but they help protect the edge of the tile.
Available in a variety of finishes, applying tile trims is straightforward. Check that the depth of the trim is equal to the depth of the tile before cutting the trim to size with a hacksaw. Apply adhesive to the back of the trim lip and position this lip behind your tiles. If the trim has a protective wrap on, dont remove it until youve finished to help keep the surface clean and free from any potential damage.
Watch our video
Still not quite sure about tiling your wall? Not to worry. Help is at hand courtesy of Tile Warehouse and Proper DIY. Weve put together this video showing the process of tiling a wall including a few handy tips and techniques to make tiling easier for you.
Need more information?
If you have any questions regarding tiles, then feel free to contact our Customer Services team using our web chat facility. They will be more than happy to help.


