Posted on Date 20th Dec 2023
How to tile a floor
Tiling a floor
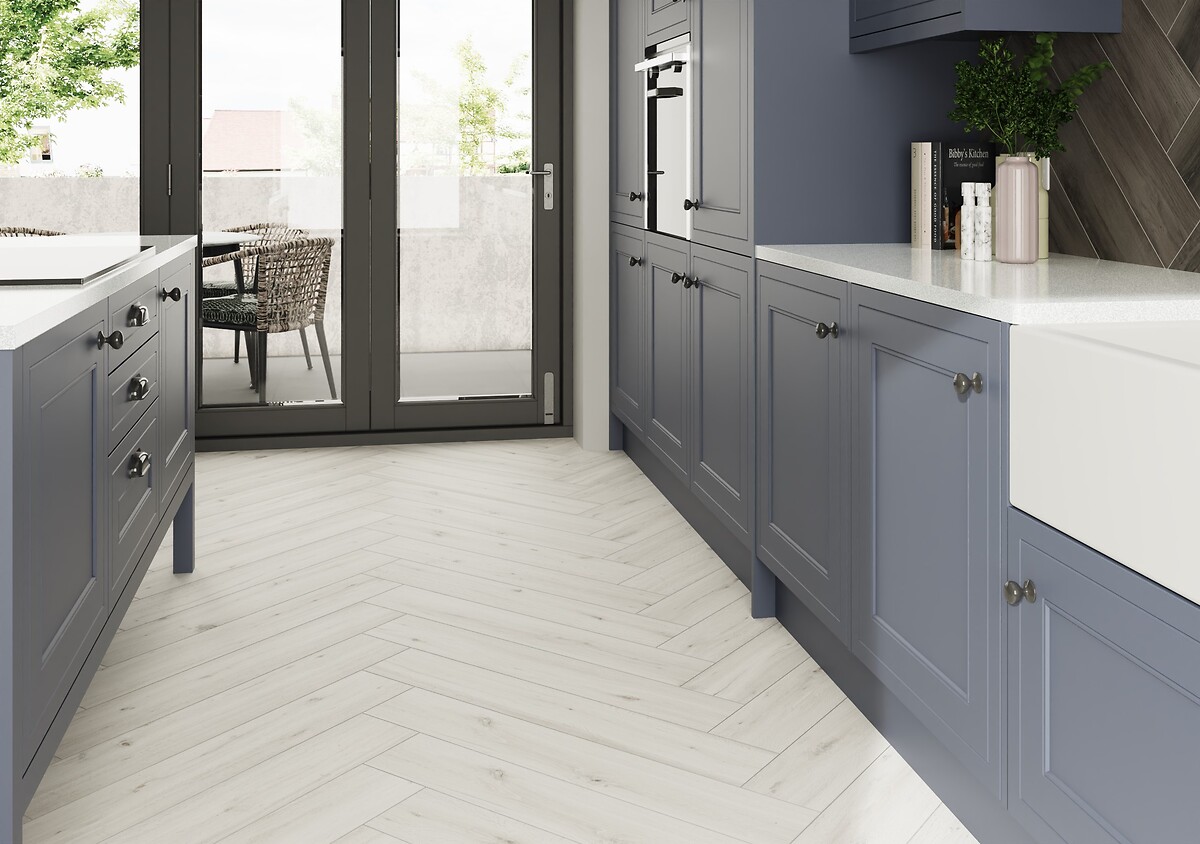
You've done all the hard work prepping your room. Now its time to have some fun tiling! And to help you achieve the best finish on your bathroom floor tiles or kitchen floor tiles, we've created this step-by-step guide to achieving the perfect tiled floor.

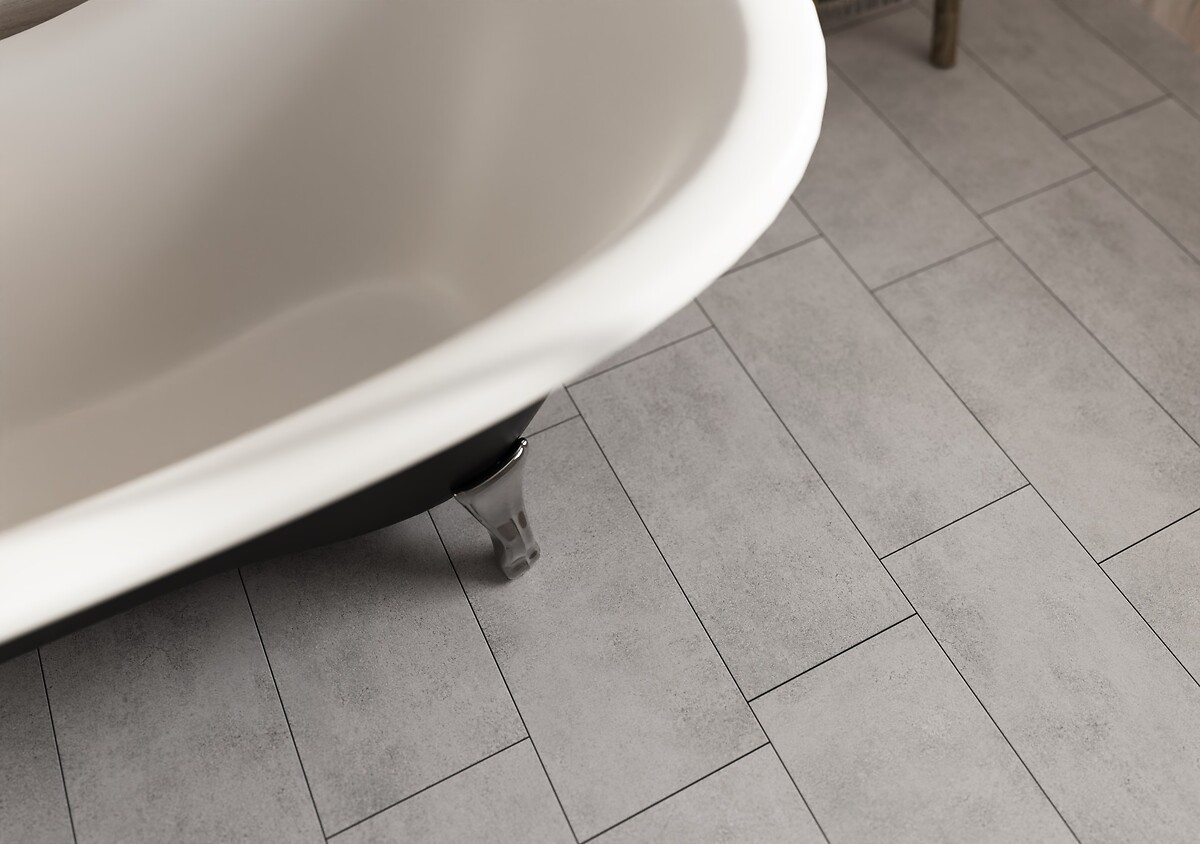
Habanera Grey Wood Effect Tiles 15x90cm
What tools do you need to tile a floor?
Whether you are laying your tiles into cement, concrete or wooden floors, you are going to need certain tools to get the job done properly. These include:
- Trowel
- Grout float
- Knee pads (optional)
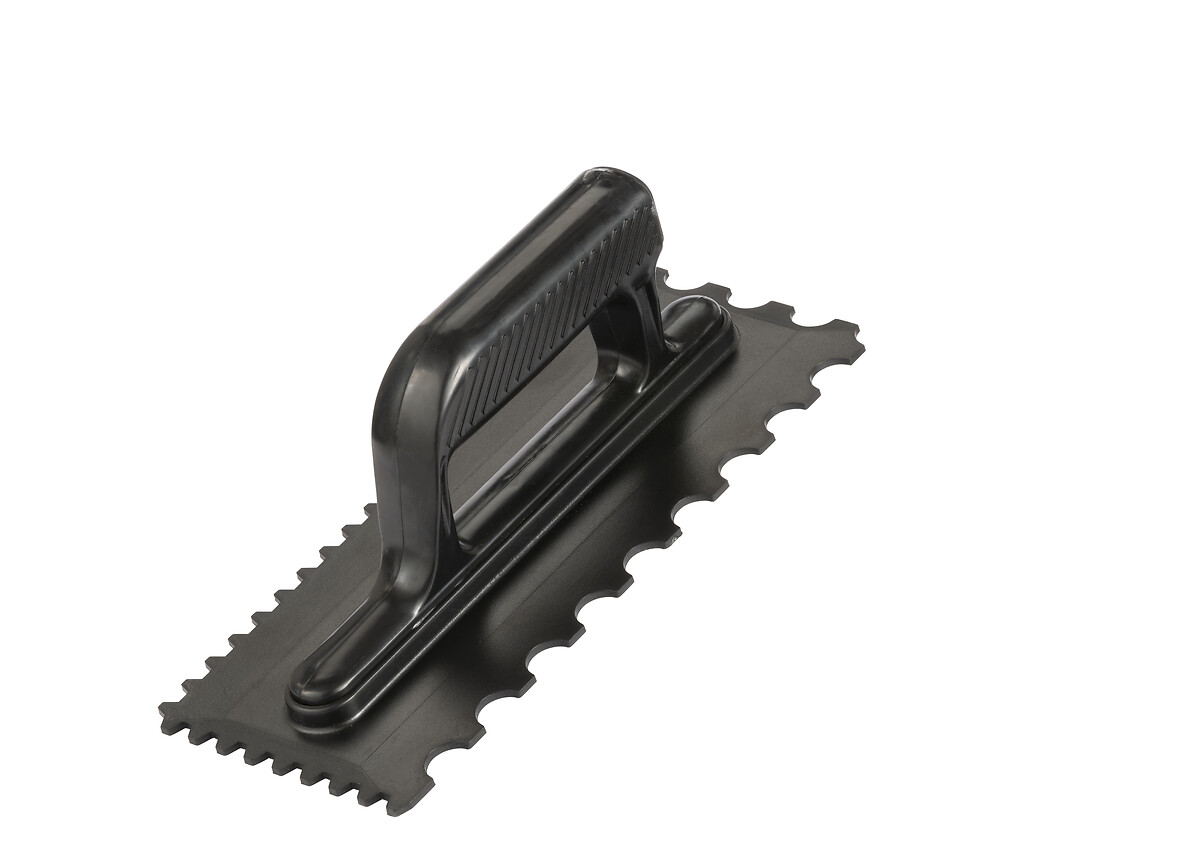
- Notched trowel
- Pencil
- Rubber mallet
- Safety gloves
- Safety googles
- Spirit level
- Tile file
- Tile spacers
As previously discussed in our How to Set Out Floor Tiles guide, when tiling your floor, youll need to start from the centre of the room and work your way out to each corner, one at a time. It is well-worth practising at least once with a dry lay to familiarise yourself with your chosen pattern.
Dont forget that you will need to leave the room after youve laid your tiles, so make sure to plan ahead, and work into the furthest corners first so that you finish by the door, not the other way round, otherwise you might find yourself having to exit via the window.
The other option, especially when tiling popular rooms such as the bathroom or kitchen, is to tile one half, leave it to set so part of the room can still be used, and then return the next day and complete the other half. Itll take a little longer but is a practical solution for lots of people.
And make sure before you start tiling to follow the tile adhesive instructions on the back of the adhesive pack as they may very well vary depending on the surface on which you are laying tiles.
How to lay floor tiles: a step-by-step guide
Step 1
Starting at your centre point, use a gauging trowel to place your tile adhesive on the floor, and a notched trowel to spread your tile adhesive across an area of roughly one metre. Then draw the serrated edge of the trowel back through the tile adhesive to form ridges. This will create an even depth of adhesive on which to lay your tiles.
Step 2
Next place your first tile firmly into the adhesive, using a twisting action to bed it into the adhesive. Repeat the process with the next tile and use tile spacers between each tile to ensure there is a 3mm gap between each for your grout.
Step 3
Check your tiles regularly with a spirit level to make sure they are flat. If not, tap them lightly with your rubber mallet to level them out. Also try and remove any adhesive that may have got onto the face of the tile with a damp cloth as you go along as its much harder to remove once its set.
Step 4
Once all your tiles are down, youll need to wait until the adhesive has set before you walk on them. This can be as much as 48 hours. As previously mentioned, if you are tiling a busy room like a bathroom, its well worth considering tiling one half one day and the other half the next day. Its entirely up to you of course!
Step 5
Invariably, you will find you have gaps to fill in the corners of your room, for which youll need to measure and cut your tiles to fit that space accordingly. Dont rush this bit even though it may be tempting. Floor tiles tend to be heavier (and thicker) than wall tiles, so youll need a heavy-duty manual or electric tile cutter for this job. Always wear gloves and googles to cut along your marked line. If there are any rough edges remaining after youve cut your tile, smooth these off using a tile file.
Step 6
Once you have the right-sized piece, position it in the space to check whether you need to make any further adjustments. If it doesnt quite fit, you can use tile nippers and a tile file for slight adjustments. When they fit perfectly, apply adhesive to the back of the tiles and fix them to the floor and you are done.
Now its just a case of giving the adhesive plenty of time to set before you start on the next part of your project, which is grouting your tiles.
Watch our video
Tile Warehouse has teamed up with YouTuber Proper DIY to create this easy-to-follow video to show you the best way to fit floor tiles at home.
Need more information?
If you have any questions regarding tiles, then feel free to contact our Customer Services team using our web chat facility. They will be more than happy to help.
Further reading
If you would like to know about tiles, then why not check out these related advice articles:
Check out our other extensive tile ranges:
Floor tiles
Wall tiles
Bathroom tiles
Kitchen tiles
Porcelain tiles
Mosaic tiles
Undecided or just browsing? Check out our entire range here!


