Posted on Date 20th Dec 2023
How to tile a fireplace
Learn how to tile a hearth
If you want to know how to tile a fireplace, you've come to the right place. From working out your design to choosing the right tiles and adhesives, we've covered all the basics in this handy advice guide.
Learning how to tile a hearth is easier than you might think, so why not create a beautiful focal point for your room in a methodical and cost-effective way? Read on for everything you need to know and get started on a project thats sure to be both enjoyable and rewarding even if youre a DIY newbie.
How to tile a fireplace
With any tiling project, there are steps to follow when tiling your fireplace. The process should be carefully thought out before you get started to avoid any unnecessary errors. This is particularly true if youre tiling a fireplace for the first time or are taking on a hearth and surround with a different surface or shape than youre used to.
As a DIYer taking on this challenge, youll have to source appropriate materials including heat-resistant adhesive and tiles that can withstand high temperatures. Porcelain tends to be more suitable than ceramic, but it all depends on how far away from the heat source your tiles will be placed. You can then start getting to work, preparing the surface and creating your striking tile design.
Preparation
When it comes to tiling a fireplace, you should always make sure the surface is clean, dry and strong enough to support your chosen tile. This is the basics of every tile project. If the fireplace hearth does not have a concrete base, you can always use a board as a substrate to ensure the surface is level and suitable for tiling.
Youll also need to work out the surface area that requires tiling and add 10% to this figure to ensure youve enough tiles to get the job done properly. Ordering slightly more tiles than you need is crucial in case any get broken or damaged during the tiling process. If you need help working out how many tiles you will need for your fireplace, give our guide to measuring a room for tiling a read.
The final preparation step is to gather all the necessary tools. Think about whether you need a manual or electric tile cutter, get hold of a notched adhesive comb or trowel as well as a grout sponge and tile spacers and make sure you have a mixing bucket and paddle to hand. You then need to source the right materials including heat-resistant tile adhesive.
What tile adhesive to use around a fireplace?
Normal tile adhesive should not be used for tiling a fireplace as it simply cant withstand high temperatures meaning your tiles are likely to come loose and fall off with time.
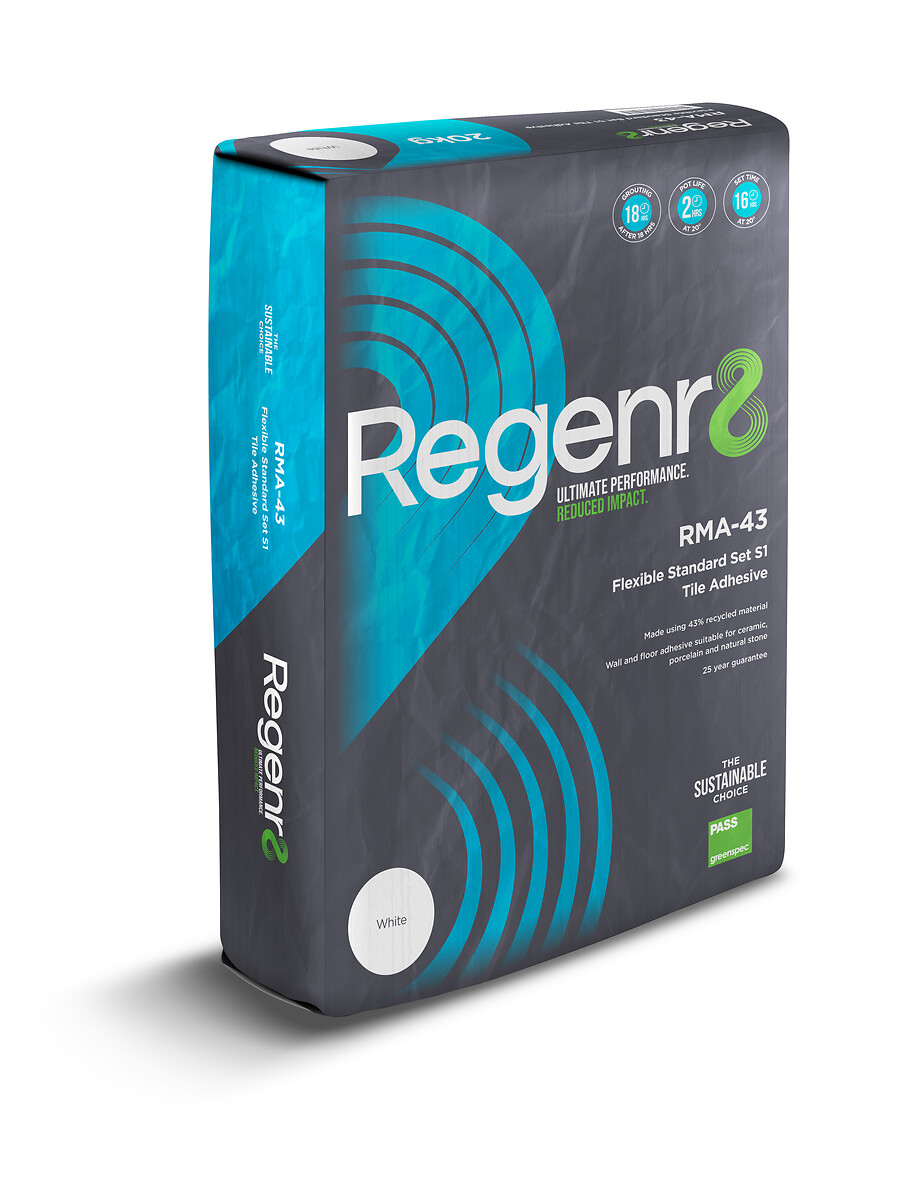
Choose an adhesive that can withstand temperatures of up to 150-200C. If its going to get hotter than that, a cement-based product is needed. Remember to choose an adhesive thats compatible with the surface to which youll adhere the tile to.
Heat resistant tiles for fireplace
Tiling a fireplace is a little trickier than say a wall or a floor as theres the heat of the fire to think about. The type of tiles you choose therefore depends on how close to the actual fire theyll be placed.
As a rule, most tile types including ceramic are usually fine so long as theyre a minimum of 20cm from the fire source. So, if youre tiling the fire surround and not the hearth then you will probably have a large choice of tiles to choose from.
If your fireplace is small, however, youll need to measure carefully. When it comes to tiling the hearth, which is the fireplace floor, porcelain is recommended. Porcelain acts in the same way as fire-resistant bricks by absorbing the heat without transferring it to surrounding areas due to its density.
Here at Tile Warehouse, we have a lot of tiles that are suitable for your fireplace project and take care to make this clear on our listings. For more information make sure to visit our dedicated fireplace tiles section.
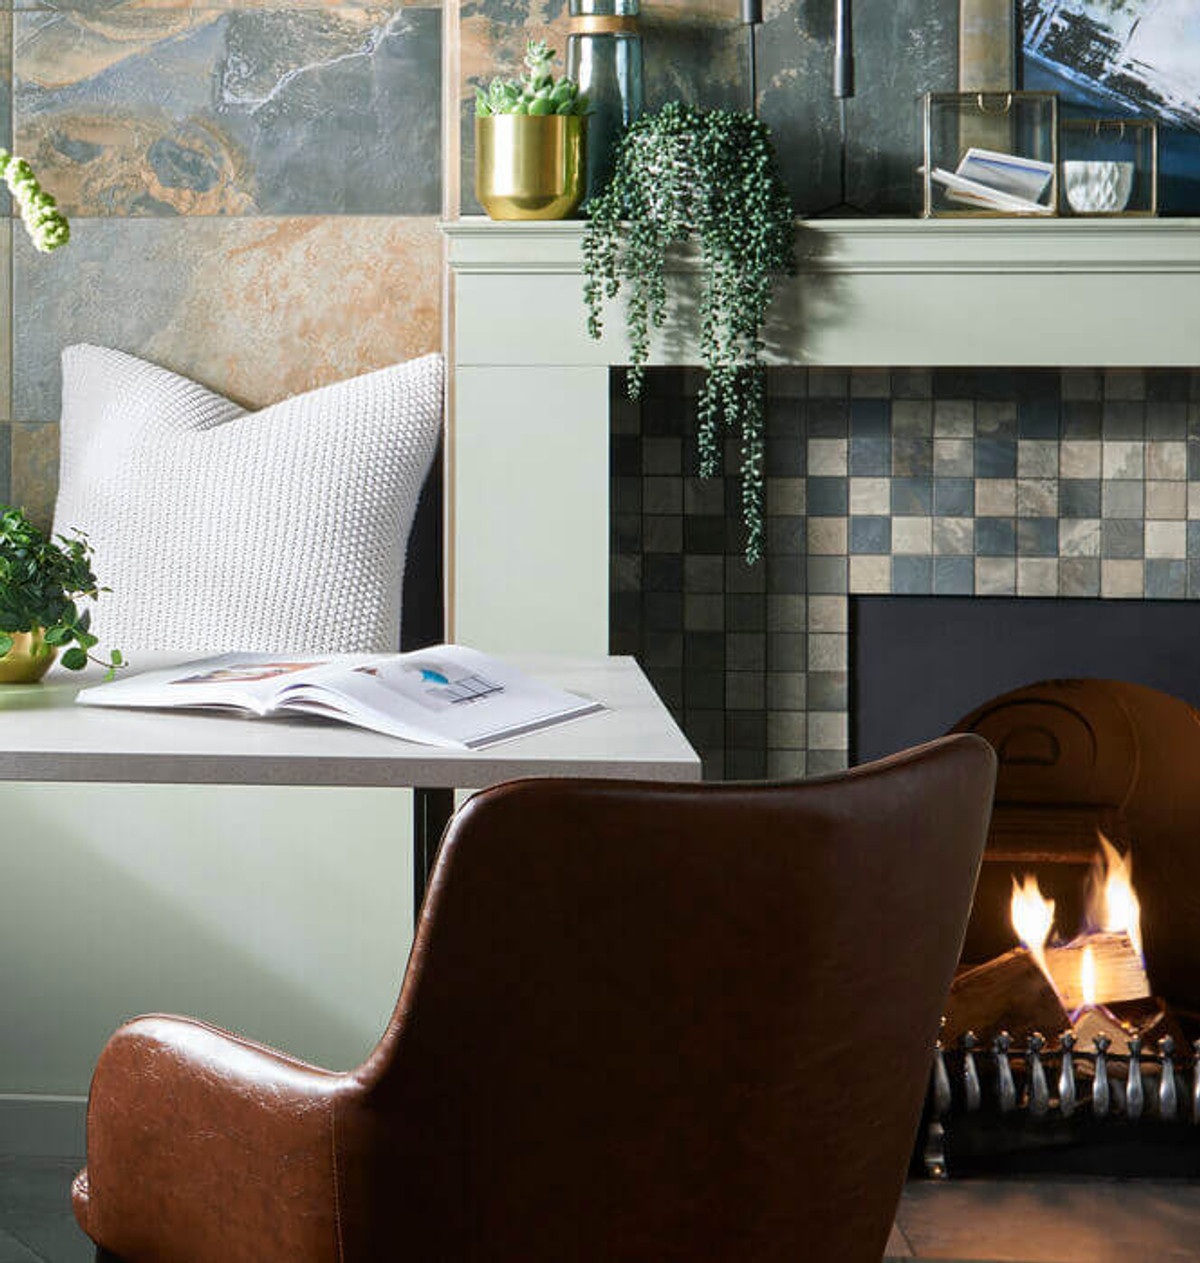
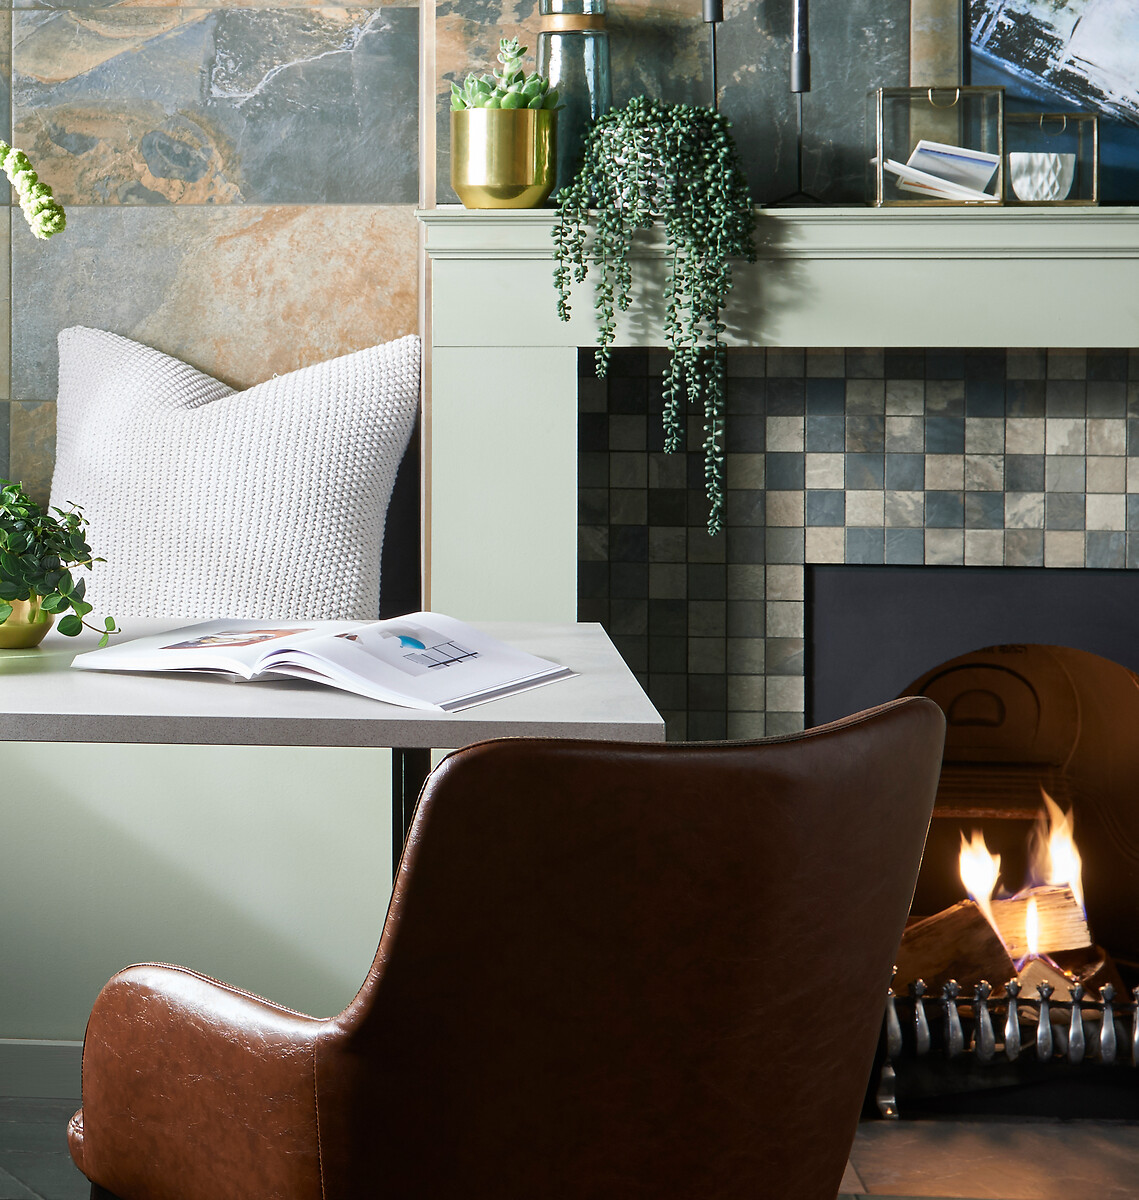
Our Reflex Gray Wall Tiles are perfect for fireplace surrounds, as are Lakeland Black Slate Effect Tiles are made from tough porcelain and are suitable for larger fireplaces.
Steps for tiling a fireplace
Tiling a fireplace doesnt have to be hard. In fact, its relatively straightforward so long as you have all the materials to hand and know what youre doing. Heres a step-by-step guide on how to tile a fireplace for DIYers.
Step 1 Plan the layout and materials
First things first, make sure you have the relevant materials. As mentioned, youll need a heat-resistant adhesive thatll keep the tiles in place for a long time.
Youll also need heat-resistant grout. Go for the non-sanded type as this will ensure your tiles arent scratched as you wipe the surface clean. Gather your equipment and start planning the layout.
Doing a dry lay is really important as itll help you picture exactly how the tiles will look and will draw attention to how many tiles need to be cut into a particular shape.
Itll also help you to practise any intricate patterns such as the herringbone and switch out any tiles that might be blemished for ones you prefer. This is much easier to do before you start applying adhesive.
Top Tip: If you want to use multiple colours for your tiling project, its a good idea to order samples or colour palettes to see which hues work well together. For more information on ordering samples click here
For the hearth, its usually possible to simply dry lay the tiles across the surface. For the surround, you might want to measure and create a cardboard cutout so that you can lay it flat. This will require a little extra work but itll make it much easier to arrange your tiles and stack them in order.
Step 2 Prepare and apply adhesive
The next step is to prepare the substrates. Make any repairs, lay any necessary backerboards and ensure the surface is completely level and clean before you start.
You can then apply your mortar. If it needs to be mixed with water, do this in a mixing bucket using a mixing paddle, making sure you get the ratios of water and adhesive correct.
The mortar can then be smoothed onto the hearth with the flat edge of a v-notched trowel. The hearth should always be your starting point unless your project only involves tiling the fireplace surround. Use the notched side of the trowel to comb ridges into the mortar for improved tile grip.
Step 3 Lay hearth tiles
If the hearth is part of your project, you can now start tiling. Think about the pattern you want to create and use tile spacers for accuracy.
Start from the centre out for a symmetrical look and be sure to give the tile a nudge forwards and backwards to set it into the ridges of the mortar. This will ensure a strong grip. Repeat the tiling process row by row. If any tiles need to be cut, make sure you get your measurements right.
Once the hearth has been completely tiled, its a good idea to protect it with plastic secured with tape as this will guard it against falling mortar when you start on the fireplace surround.
Step 4 Lay fireplace surround tiles
If youve already done a dry lay of your tile design, youll have practised your chosen design and should know what goes where.
The key to tiling a fireplace surround successfully is to work in an ordered way. Again, just like your hearth, its always a good idea to start from a centre line and work outwards to the right.
Use tile spacers to create a consistent gap between the floor and the first row of tiles and place a spacer between each tile as they set for a uniformed look. Work on small sections at a time so that the mortar doesnt dry out and repeat the process to the left.
When it comes to tiling the second row, you can create a brickwork effect with rectangular subway style tiles by straddling the first tile over the joint line below to create a staggered look. Remember, the end tile of each row may need to be cut to size. Measure and mark each tile that needs to be cut for accuracy.
Step 5 Grout your fireplace tiles
Once the mortar has set, you can start to apply the heat-resistant grout. Leave the hearth covered and work from the bottom down on the fireplace surround.
Use a grout float to press the grout into the joints and sweep over at an angle to remove the excess. You can also use a rag to wipe the tiles clean as you go.
When the surround is fully grouted, remove the plastic from the hearth and repeat the process. After about half an hour you can wipe away any excess using a wet cloth. Always work with a clean bucket of water at this stage so that you dont make your tiles smeary. Leave to set.
Its worth mentioning here that the type of grout you choose can change the look of your overall fireplace project. From grout that matches your tiles to contrasting colours, there are many different options, so its worth thinking about this when thinking through your design.
Step 6 Clean up
To make life easier, clean up as you go. Scraping dried mortar off a mixing bucket and paddle is not easy so always wash it off immediately.
Once the grout has dried you can then buff up the tiles with a damp cloth to make sure theyre sparkling. Its also worth applying a few coats of sealer for extra protection.
Fireplace styles
Choosing the design for your fireplace is one of the most exciting parts of the entire process. And remember you dont have to choose the same tile colour, style or pattern for the surround and the hearth.
Whether you want something simple and contemporary or artistic and eye-catching, the choice really is yours. Here are a few design ideas to think about.
Modern fireplace tiles
If you want to keep things looking modern, then white, cream or beige tiles with matching grouting could be perfect. You could even tile the hearth this way and then paint the fireplace surround for a contrasting look.
Shiny black tiles work well here too or you could go for a monochrome look which is timeless yet works in contemporary settings.
Country fireplace tiles
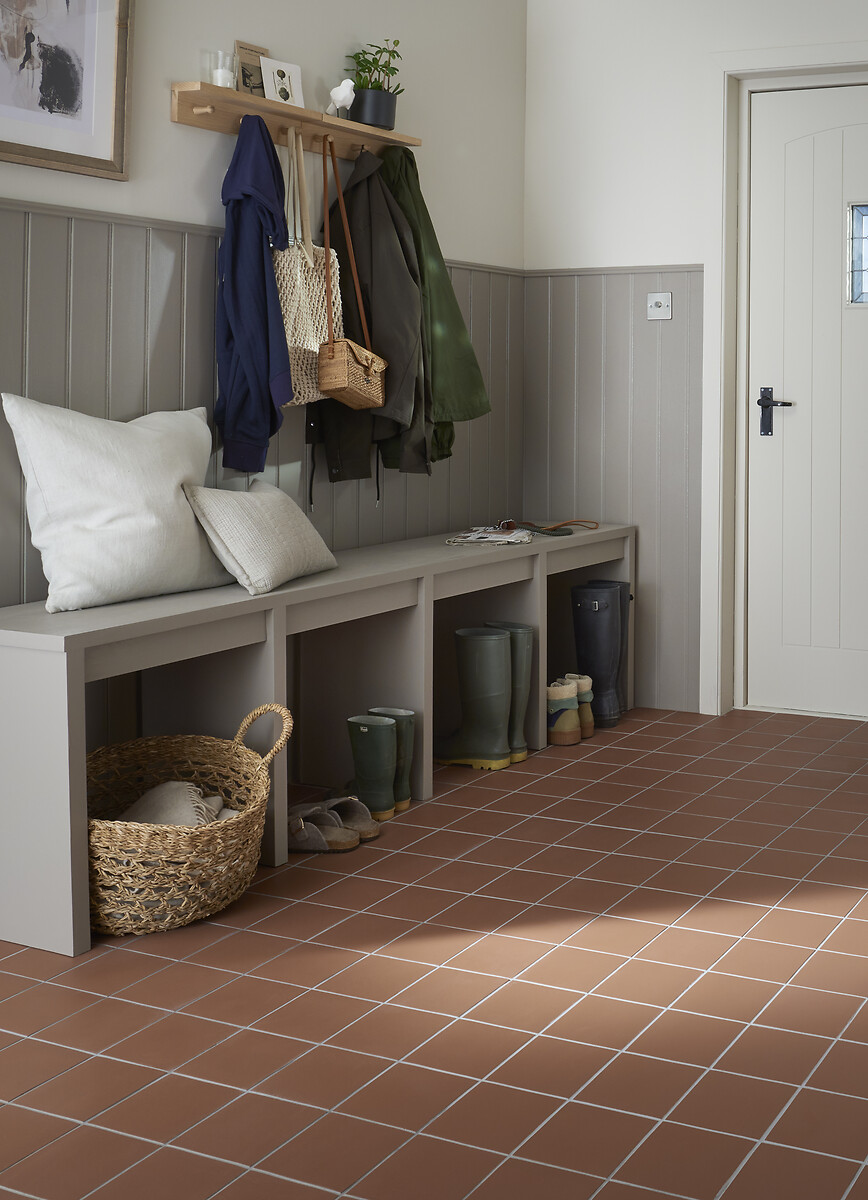
If you want to introduce a country style to your home, then the Quarry range is a good choice. Available in a variety of colours, the hard-wearing Quarry range wont go out of fashion.
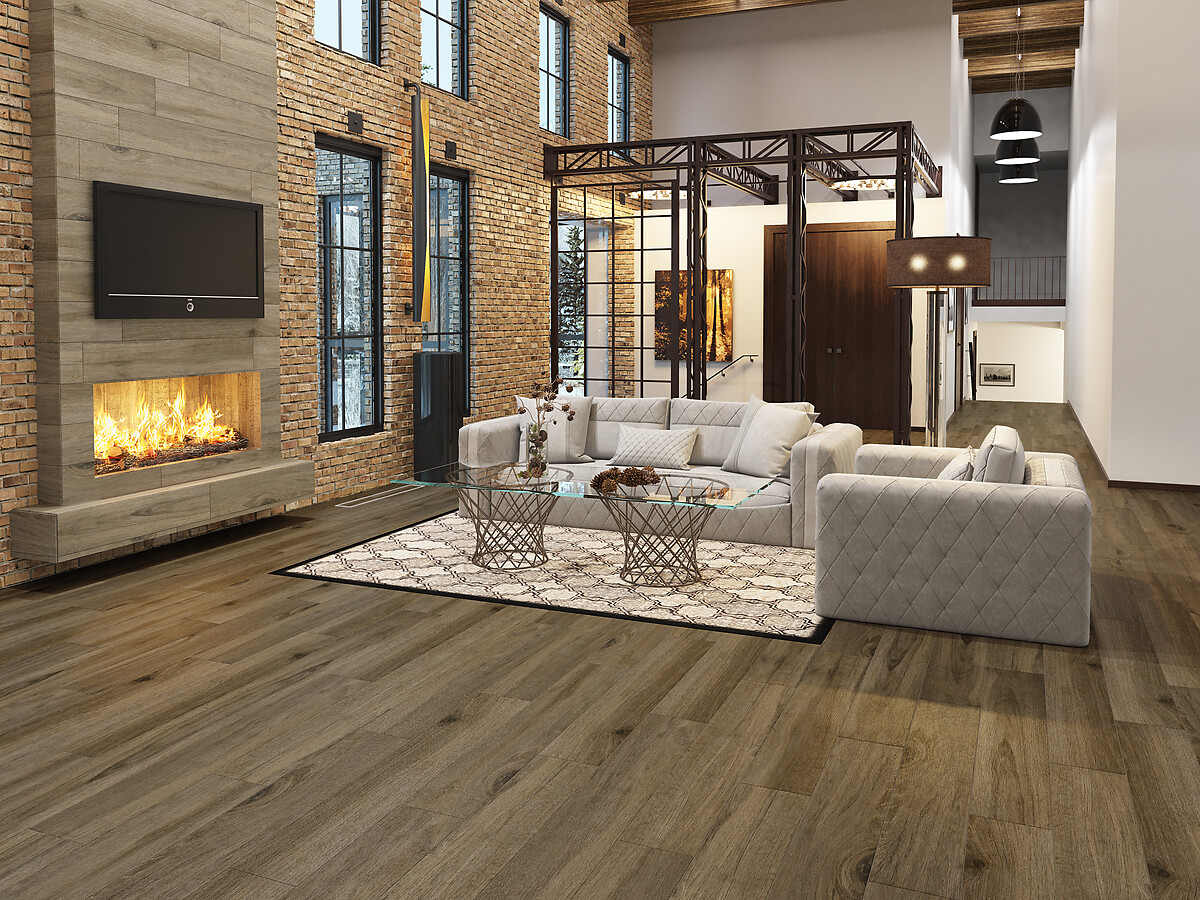
Wood effect wiles can work equally well. Many are made from porcelain and are therefore suitable for your project. Or you might opt for a beige or ricotta slate effect tile.
Think about using contrasting grouts for an interesting twist. Contrasting grouts emphasise grout lines and are perfect if youre creating a more intricate pattern or really want to show off the brick effect of your tiles.
Victorian fireplace tiles
Theres something wonderfully striking about a Victorian-inspired fireplace and at Tile Warehouse we have a wide range of tiles to help you get the job done properly.
Our Hima Mosaic Tiles, for instance, offer a nod to the Victorian era while keeping things modern with a cool-toned colour palette. Check out our full range of mosaic tiles.
Need more information?
If you have any questions regarding selecting the right tiles for your home, then feel free to contact our Customer Services team using our web chat facility.


