Posted on Date 20th Dec 2023
How To Lay Herringbone Tiles
On-trend herringbone tiling tips
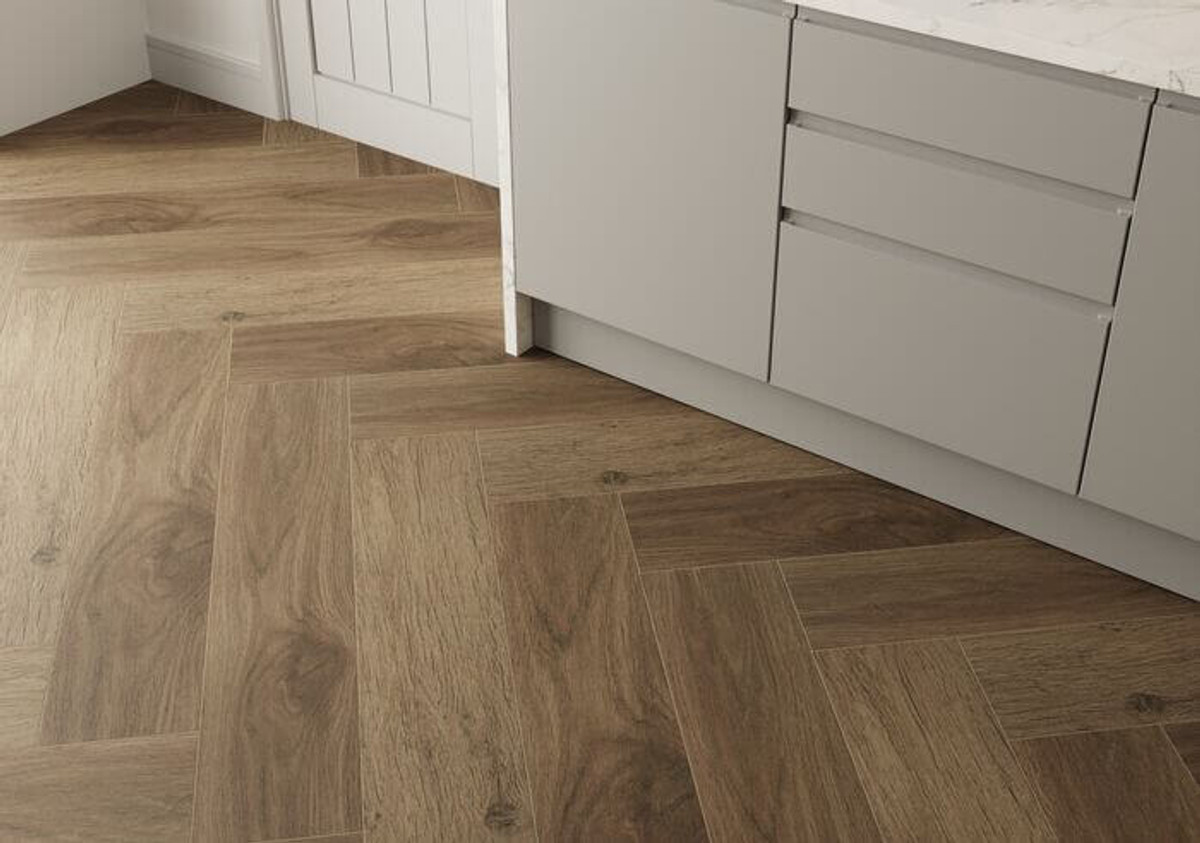
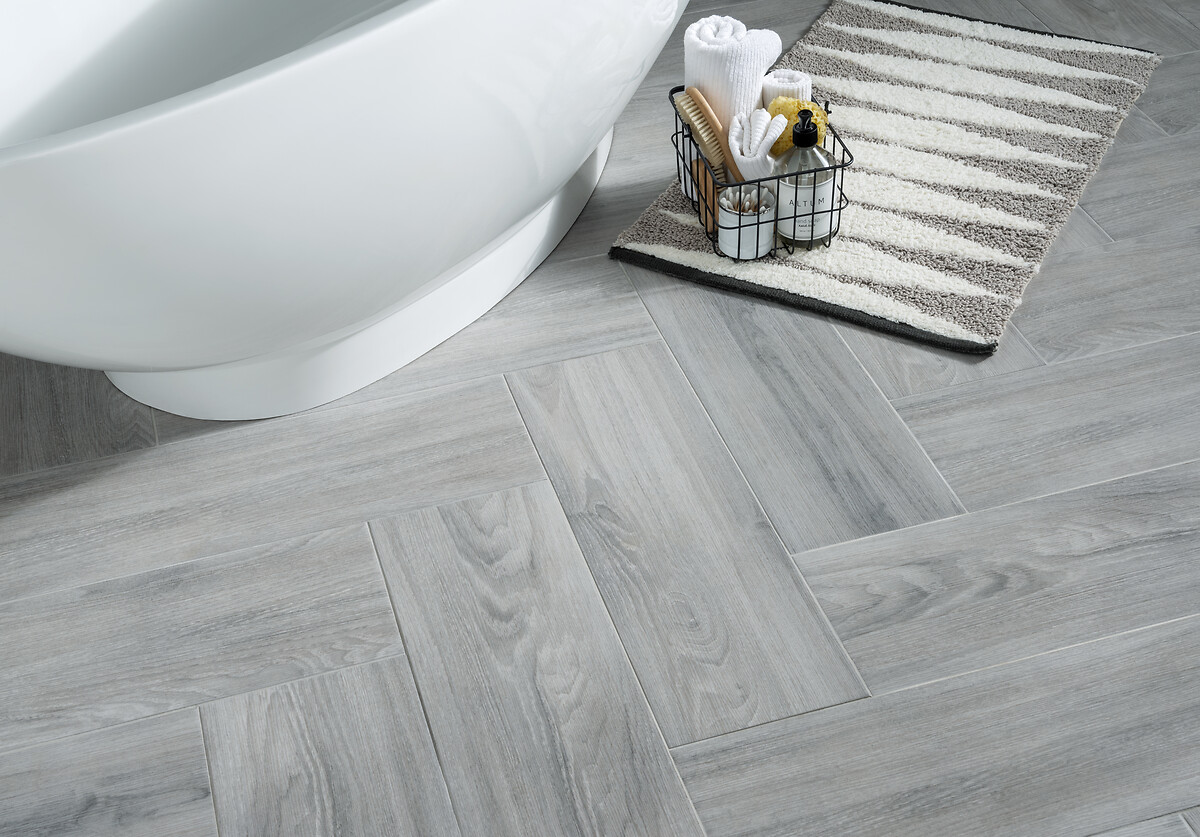
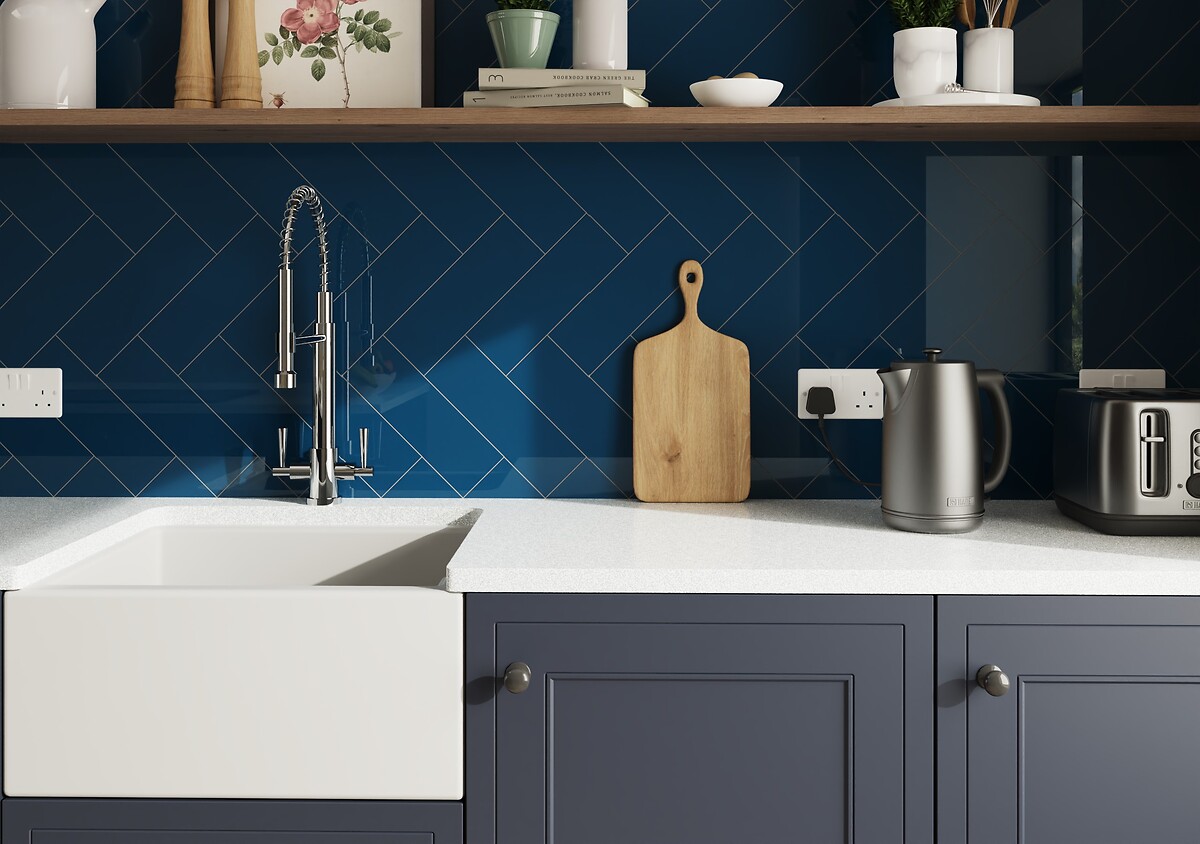
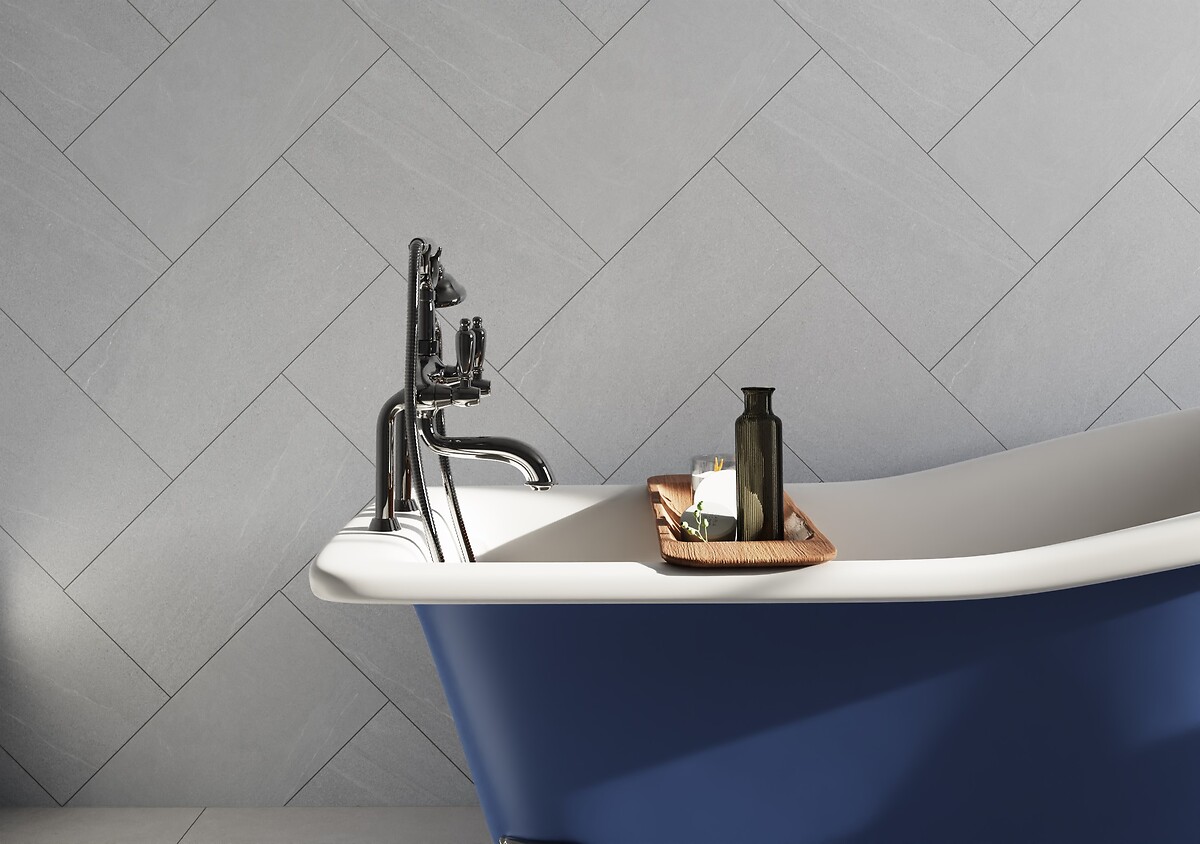
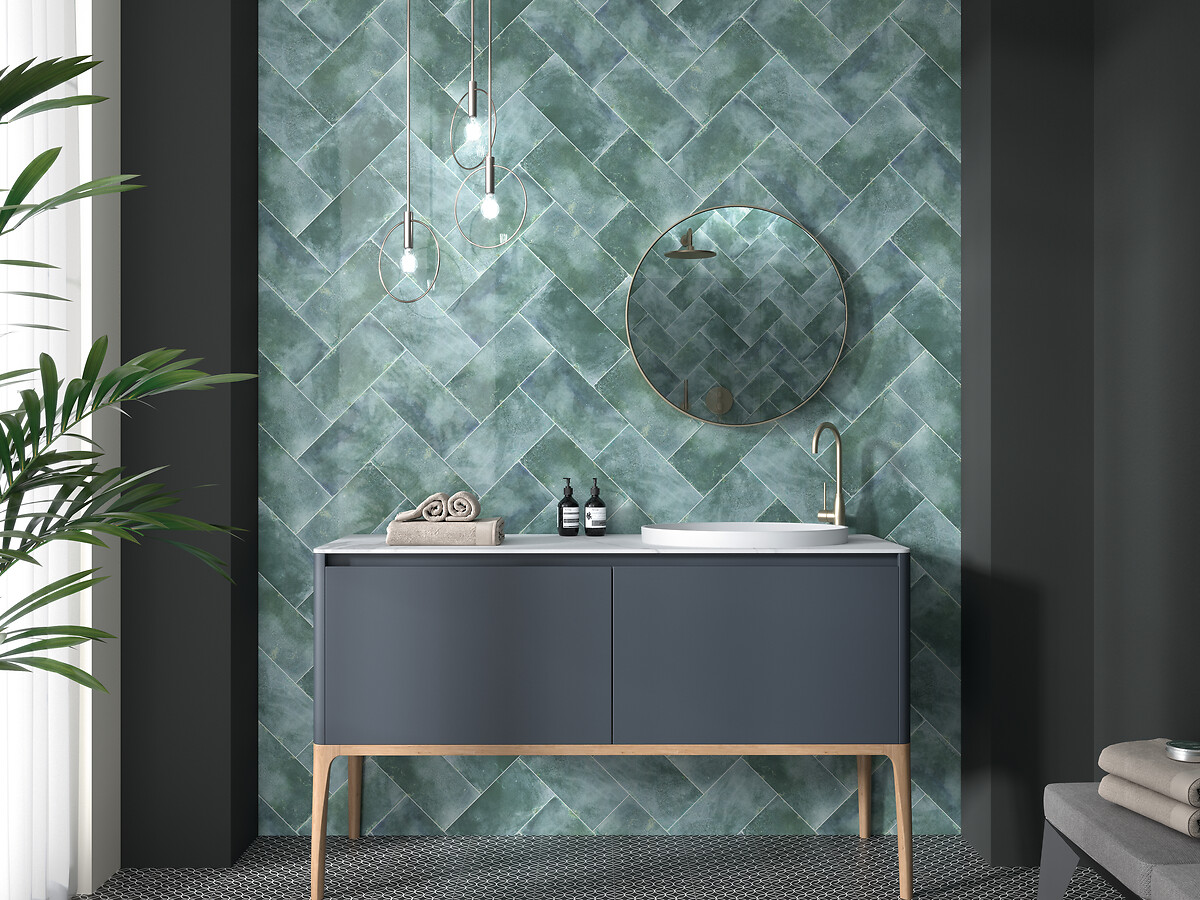
Knowing how to lay herringbone tiles can result in a remarkably eye-catching property revamp. Whether youre looking to create beautiful flooring throughout your living space or a striking feature wall, herringbone offers a long lasting, glamorous finish.
But how do you go about creating this unique and distinctive look in your home? Well, herringbone is created by placing rectangular tiles together so that the short end of one tile is against the long end of another forming a zig-zag pattern.
Read on to find out how to lay herringbone tiles accurately and what youll need to perfect your tiling project. This guide is perfectly suited to DIYers looking for assistance and you might be pleasantly surprised as to how simple and straightforward this look is to achieve in your home.
Before you start: How to prepare for herringbone tiling
As with any tiling project, youll need to prepare the surface carefully to ensure its suitable for tiling. Fix any damage and apply backer boards where necessary.
You should also make sure that your chosen surface can withstand the weight of your chosen tile. This is particularly crucial when tiling walls, fireplace surrounds, splashbacks, plasterboard and such like.
Youll then need to gather your tools and make sure youre familiar with all instructions in advance to make the process quicker. Theres a high chance youll need to cut tiles to fit your surface area, so be sure to get hold of a tile cutter. For more information on dry and wet tile cutters click here.
The preparation stage of herringbone also involves choosing the right kind of tile. Your tiles must be rectangular. The tiles height must be divisible by its width too otherwise the effect wont work as well.
This is the key rule. You have a lot more flexibility when it comes to pattern, colour and grout shade as these factors wont impact the layout. Its worth taking your time to think through all these things in detail so that the laying process is smooth and hassle-free.
Tools needed for laying herringbone tiles
Unless youre an avid DIYer and have tiled before, theres a high chance youll need to purchase the relevant equipment in advance.
The tools youll need for laying herringbone tiles include:
- Mitre saw or hacksaw
- Notched trowel
- Tile cutter
- Grout float
- Combination square
- Tape measure
- Tile file
- Tile scorer
- Spirit level
- Bucket and sponge
- Masking tape
- Safety goggles
- Dust mask
- Spray bottle filled with soapy water
- Pencil
How much wastage do you get from a herringbone floor?
Youll need to measure the surface area of your tiling project to ensure you purchase the right number of tiles. But remember that a herringbone pattern typically requires far more cuts than a straight set or offset pattern.
With this in mind, its a good idea to order at least 10% more tiles than you think you need as this will ensure youve enough tiles for your project. Its also worth ordering extra tiles in case your tiles are damaged down the line and need to be replaced. You dont want to find that your range has gone out of stock.
How to set out Herringbone wall tiles
Herringbone wall tiles form a zig-zag or fishbone skeleton design. This means theyre not laid out flat like other brickwork styles and its important to get the angles right.
As a general rule you need to first find the centre point of the wall area youre tiling. You can then do a dry lay of your rectangle tiles to ensure youve got the pattern in your head.
Each tile should be placed at a 45-degree angle from the centre line. All tiles, whether cut or placed, must follow this 45-degree angle rule. Use your combination square to get the perfect angle. Work upwards and outwards until your pattern is complete.
Please note that youll probably need to cut many of the tiles into shape, especially to fill those small triangular gaps that are left when laying the first two rectangular tiles against each other to form a straight edge.
How to centre a herringbone pattern
Centring a herringbone pattern ensures your design looks even. To find the midpoint of your wall, measure its width with your measuring tape and mark the centre point with your pencil.
At the midpoint, you can then use your spirit level to draw an accurate vertical line to the top of the wall. You can then start tiling, using the midline to create that 45-degree angle. Finding the centre point will create that all-important symmetrical pattern.
Which way should herringbone run?
This all depends on how you want your herringbone pattern to look. Typically, herringbone looks best with the points running in the longest direction of the room or directed at a focal point.
If you have a long hallway, for example, rows of layered v-shapes lead the eye upwards giving the illusion of length. But theres no reason why you cant do the v-shape the other way around. The double or triple herringbone can also spice things up a bit. This involves pairing two or three tiles together for each part of the design instead of one.
You could also swap out the traditional herringbone for a basket weave design. This uses a ratio of four by four blocks laid together in a square. These squares are then laid in alternating directions either horizontally or vertically. Basket weave can be laid square to the room or diagonally depending on your preference and intended design.
What are the right tiles for herringbone
As previously mentioned, you must use rectangular tiles to get the desired herringbone look. And remember that all-important width:length ratio we mentioned.
Aside from that, you can do your tile homework to find a colour and pattern thatll suit your interior space. Whether you love the contemporary look or fancy something a little more vibrant, the choice is yours.
You could even opt for a design with several colours spaced in order or randomly across the wall or floor. With herringbone, theres plenty of flexibility. To see the full collection of herringbone tiles from Tile Warehouse simply click here.
How to lay herringbone tiles: step by step guide
Herringbone patterns look complicated. But once you know the angles and find your rhythm, youll quickly see the design coming together.
The trick is to get things right from the very start. The first tile you lay will set the angles for the rest of the design, so this is important.
We strongly recommend doing a dry run, so you get used to placing your first tile at a 45-degree angle from your midpoint line and building the design up from there. You can also start from a corner point of the room and work outwards if you wish.
Its likely that some of your tiles will need to be cut to fit correctly. Measure and mark these tiles and number them to help you remember the order. Youll also need to cut tiles for your gaps and overhangs. For the triangular gaps that are created, use your combination square to measure your 45-degree angles from one corner of your tile and line the angle using masking tape.
Step 1: Apply adhesive
Once youve measured, cut and prepared all tiles, you can then mix up the adhesive. Apply it to a small area using your trowel.
Dont cover too much of the surface as the adhesive might dry out before youve laid your tile. Hold your trowel at a 45-degree angle for an even spread.
Step 2: Lay your tile
You can then start laying your tiles onto the adhesive. Start with the centre triangle and then work your way out width-wise. Add tile spacers for uniformity as this will allow for natural movement of the surface and will ensure your grout looks even at the end.
Step 2: Apply trims on edges
Cover any raw edges in tile trim. This may need to be cut to size using your mitre or hacksaw. Always wear your eye goggles and dust mask for protection.
Step 4: Apply grout
Once the adhesive is dry, remove the spacers and apply your chosen grout using the grout float. Wipe away any excess grout at an angle and clean the tile surface with a sponge and warm water.
Remember, contrasting grout can really highlight the uniqueness of your herringbone design so this is something to consider. Coloured grout can also completely transform the look of your project. Seal the edges with a silicone sealant.
Step 5: Clean up
Leave your tiles to set for the required amount of time. Most adhesives and grouts dry very quickly these days but its always worth leaving them overnight just to be sure.
The next day, give your tiles a really good clean using a fresh bucket of warm water to remove any smears or residue. You can then buff them and admire your work.
With regards to the cleanup: dont leave mixing buckets, trowels and other tools until the next day. Grout and adhesive arent easy to remove once set so wash it off as soon as you can for easier cleanup.
Watch our video
If you need more help laying your tiles out, make sure to watch our video below featuring hit YouTuber Proper DIY. Stuart Matthews, founder of Proper DIY, explains the best way to lay your tiles out at home.
Need more information?
If you have any questions regarding tiling in your home, then feel free to contact our Customer Services team using our web chat facility.
Further reading
If youd like to find out more about herringbone pattern tiles, why not have a read of the following advice guides:
The different herringbone tiling laying patterns
Check out our other extensive tile ranges:
Floor tiles
Wall tiles
Bathroom tiles
Kitchen tiles
Porcelain tiles
Mosaic tiles
Undecided or just browsing? Check out our entire range here!


