Posted on Date 20th Dec 2023
How to grout tiles
Whether you are adding a splashback on your kitchen wall or laying tiles on your bathroom floor, then you will need to seal your tiles with grout.
Which is why weve put together this handy advice guide to help you understand more about grouting and the tools and techniques you will need to help achieve a professional finish in the home. And, as with everything, if you need advice, just get in touch with the team at Tile Warehouse. Were extremely happy to help.
Why do I need to grout?
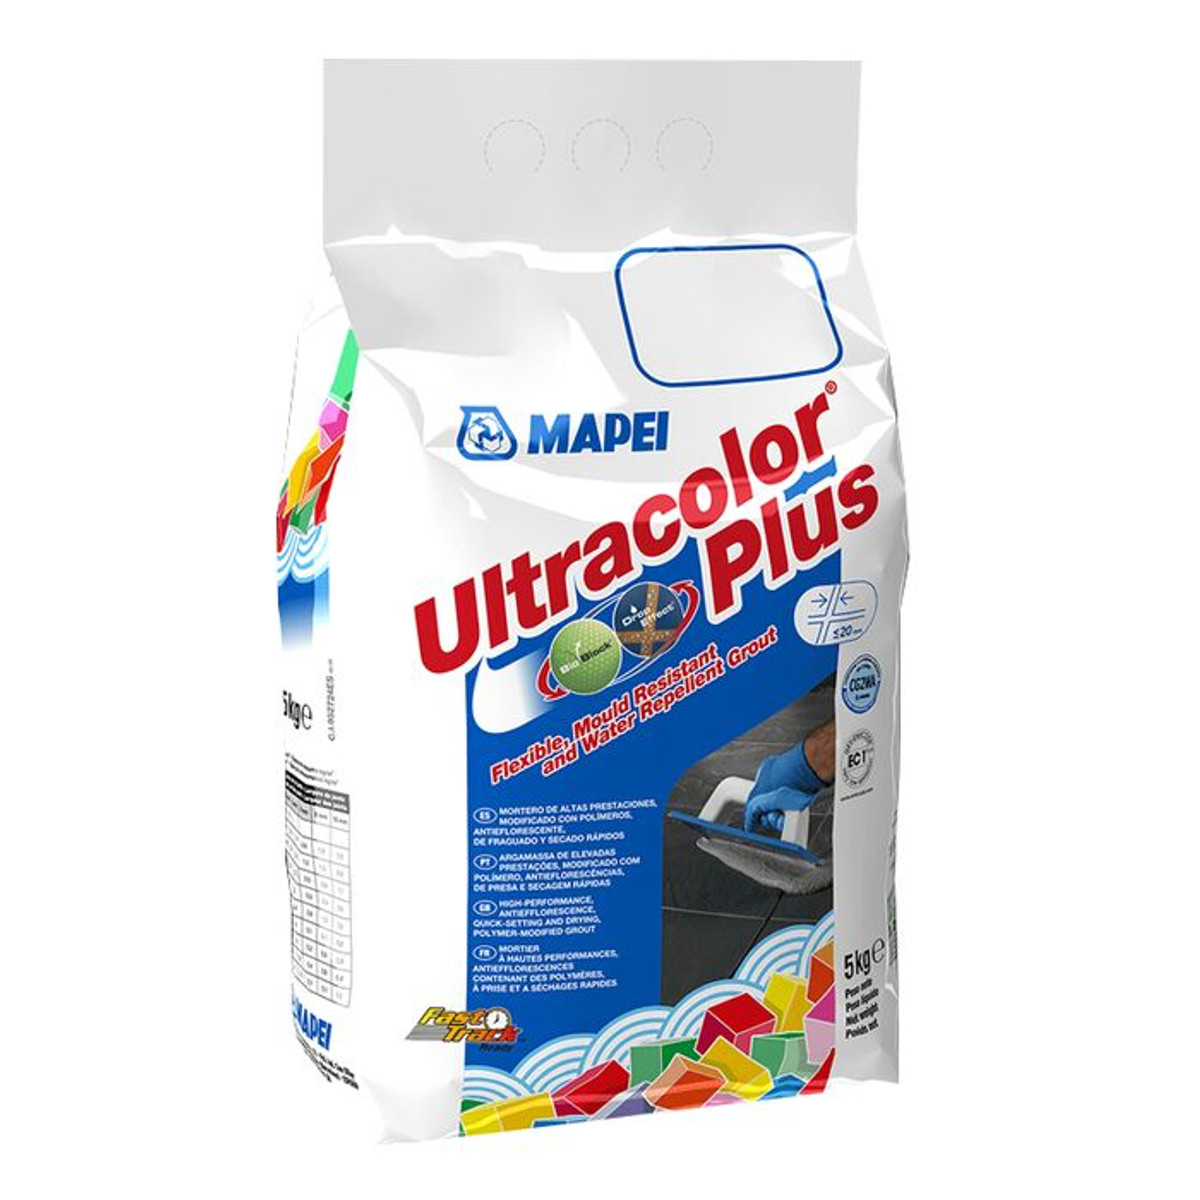
Grout prevents water from finding its way through the spaces between your tiles, giving your tiles on your floor or wall a neat, finished look. Whats more, grout is available in a multitude of colours, giving you the option to finish your tiles off with something neutral or, if you prefer, make a statement with a contrasting colour. The good news is that grout is relatively quick and easy to apply, and with some basic advice, you should be more than capable of achieving a professional finish in no time.
What are the different types of grouts?
There are two main types of grouts available on the market cement-based or epoxy-based both of which come available in sanded and non-sanded varieties.
Cement-based grouts are the most popular of the two. Available in a wide variety of colours, they are easy to work with and relatively inexpensive, making them highly popular with DIYers. Epoxy-based grouts tend to be slightly more expensive but are both waterproof and stainproof making them ideal for areas such as bathrooms, kitchens and en-suite showers.
Choosing the right colour grout
Grouts dont just come in different types. They also come in a wide variety of colours and tones. Although there are no hard and fast rules when it comes to the choice of grout, they tend to fall into three main categories:
Matching Colours if you are not planning on making a feature out of your grout then go for colour that matches your tile. This ensures your tiles are always the star of the show.
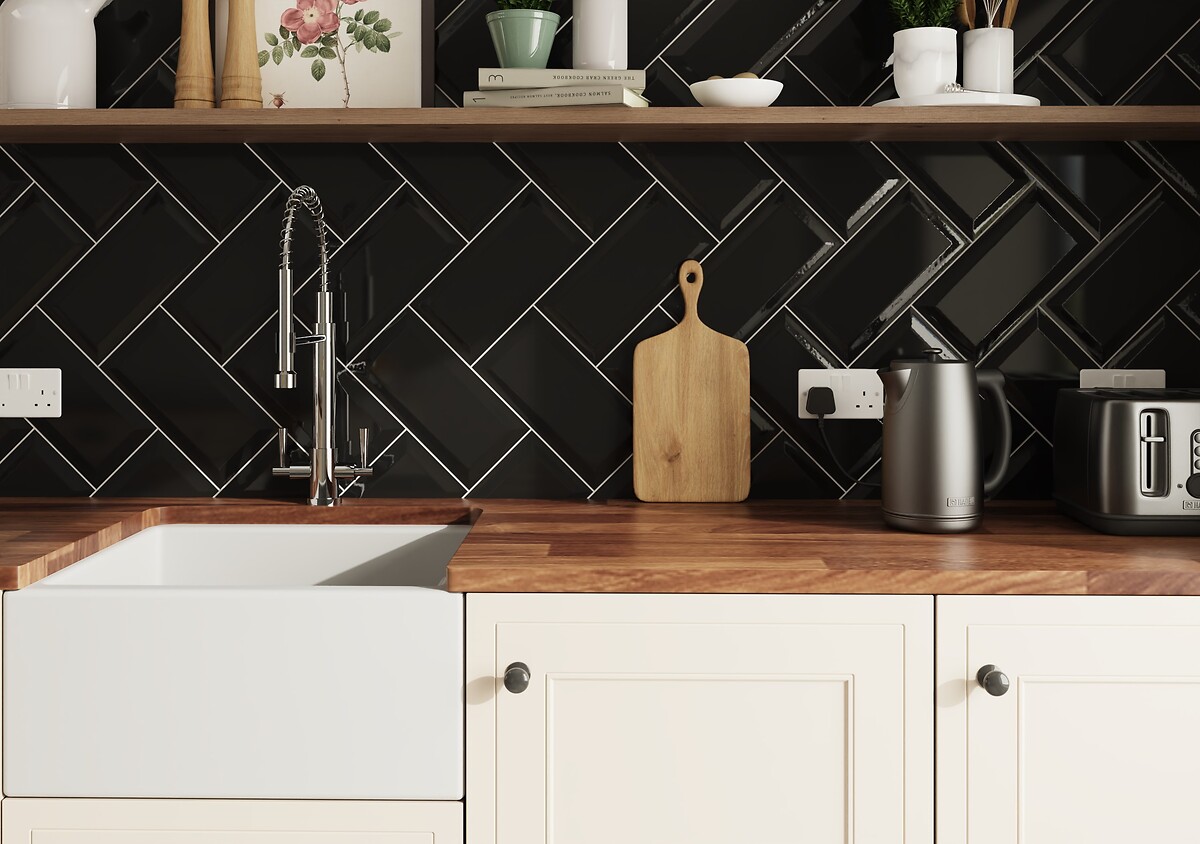
Contrasting Colours if you chose a contrasting-coloured grout, this is guaranteed to help draw attention to the layout of your tile, especially if you are going after geometric or decorative tiling patterns.
Neutral Colours if you are planning on playing it safe then go something light, such as grey or brown, or alternatively, anything neutral. While it wont stand out, it wont date, making it timeless.
How to apply grout a step by step guide
Step 1: Check you are ready to grout
Before you start grouting make sure that your grout lines are free from all debris and dust, including any excess adhesive. Equally important, check that your adhesive is completely dry before you start to grout. If you are unsure check the adhesive packaging for drying times.
Step 2: Mix your grout
If your adhesive is set, then you are ready mix cold water and grout powder into a clean mixing bucket as per the instructions on your packaging. Avoid mixing too much as grout hardens quickly.
Prior to applying the grout decide what you are going to do with your tile spacers. Most people tend to lift them out but if you prefer you can push them further into the adhesive bed before it sets so they dont obstruct any of the grout joints.
Step 3: Apply your grout
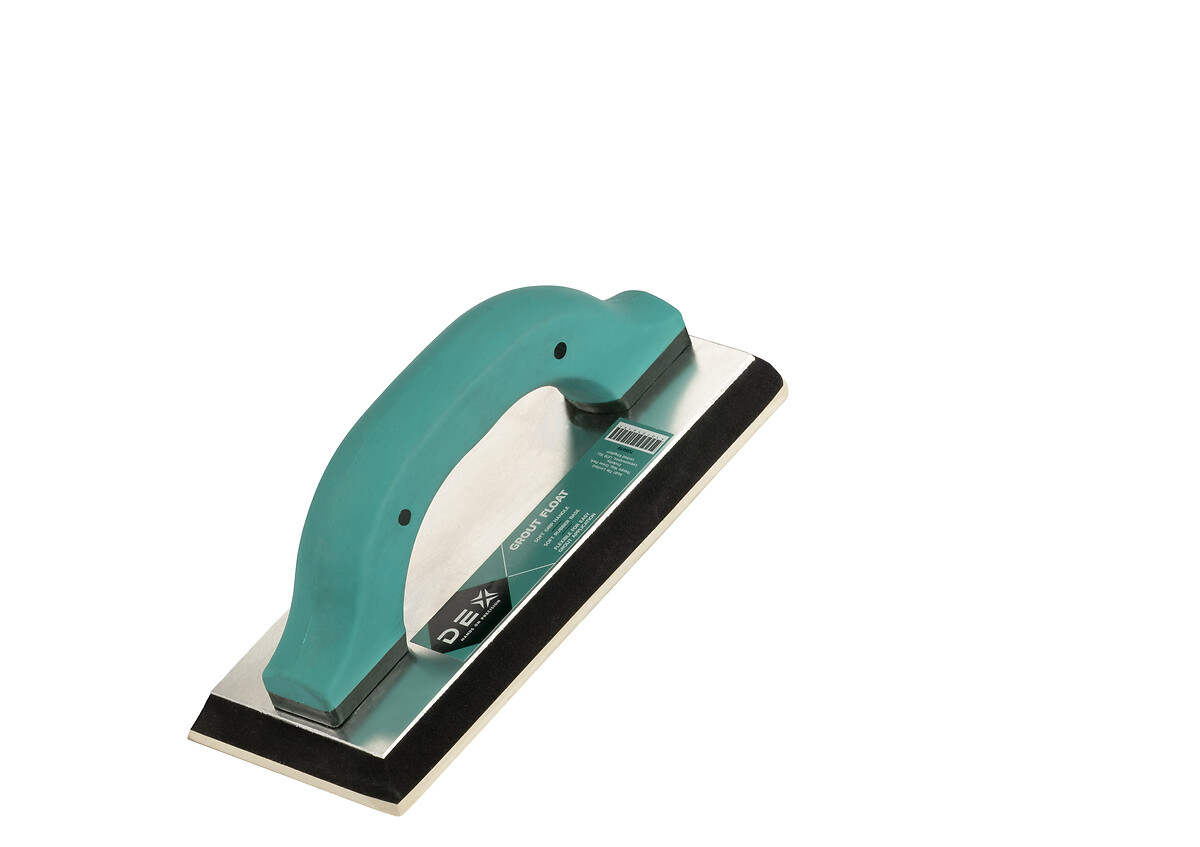
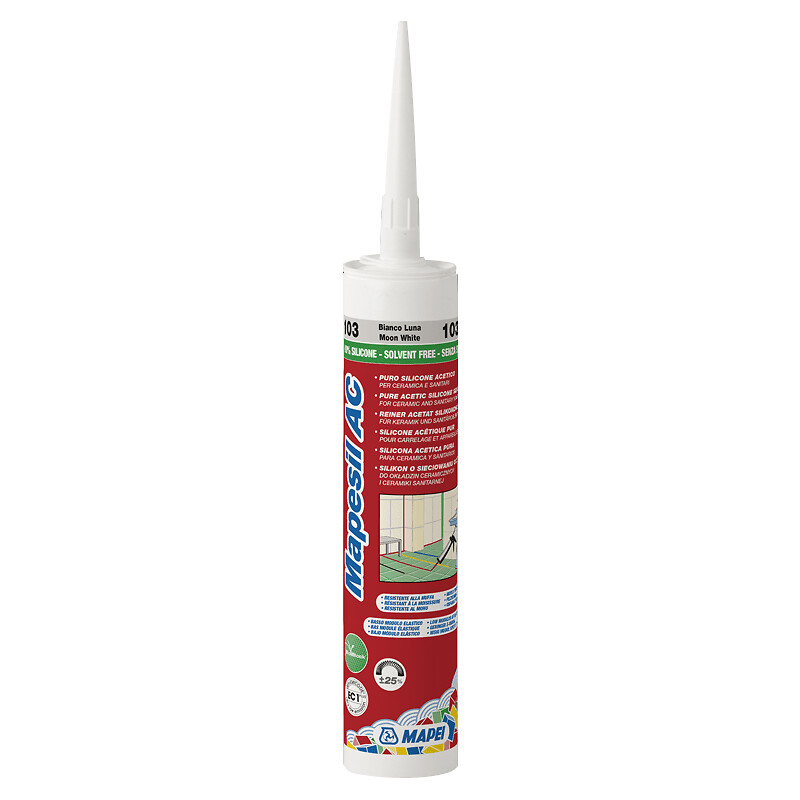
Next place some of the grout on the tiles and holding your grout float at 45 degrees, apply the grout, ensuring all the joints are filled. Remember not to grout the perimeter joint of the floor or the internal joints of the walls. Instead, seal the perimeter and internal joints with silicone sealant, which handily come in a variety of colours so you can match your chosen grout.
Once all the joints have been filled, pop on the kettle for a cup of tea, and put your feet up for at approximately 15 minutes to allow the grout to become touch dry. We would always recommend checking the manufactures guidelines for drying times and drying temperatures.
Step 4: Clean away an excess grout
When touch dry its then just a case of using a damp sponge (not wet) to clean away an excess grout from your tiles. Make sure to rinse your sponge regularly with clean water and avoid applying too much pressure when cleaning. Allow at least an hour after cleaning for the grout to set sufficiently before polishing the surface with a dry clean cloth.
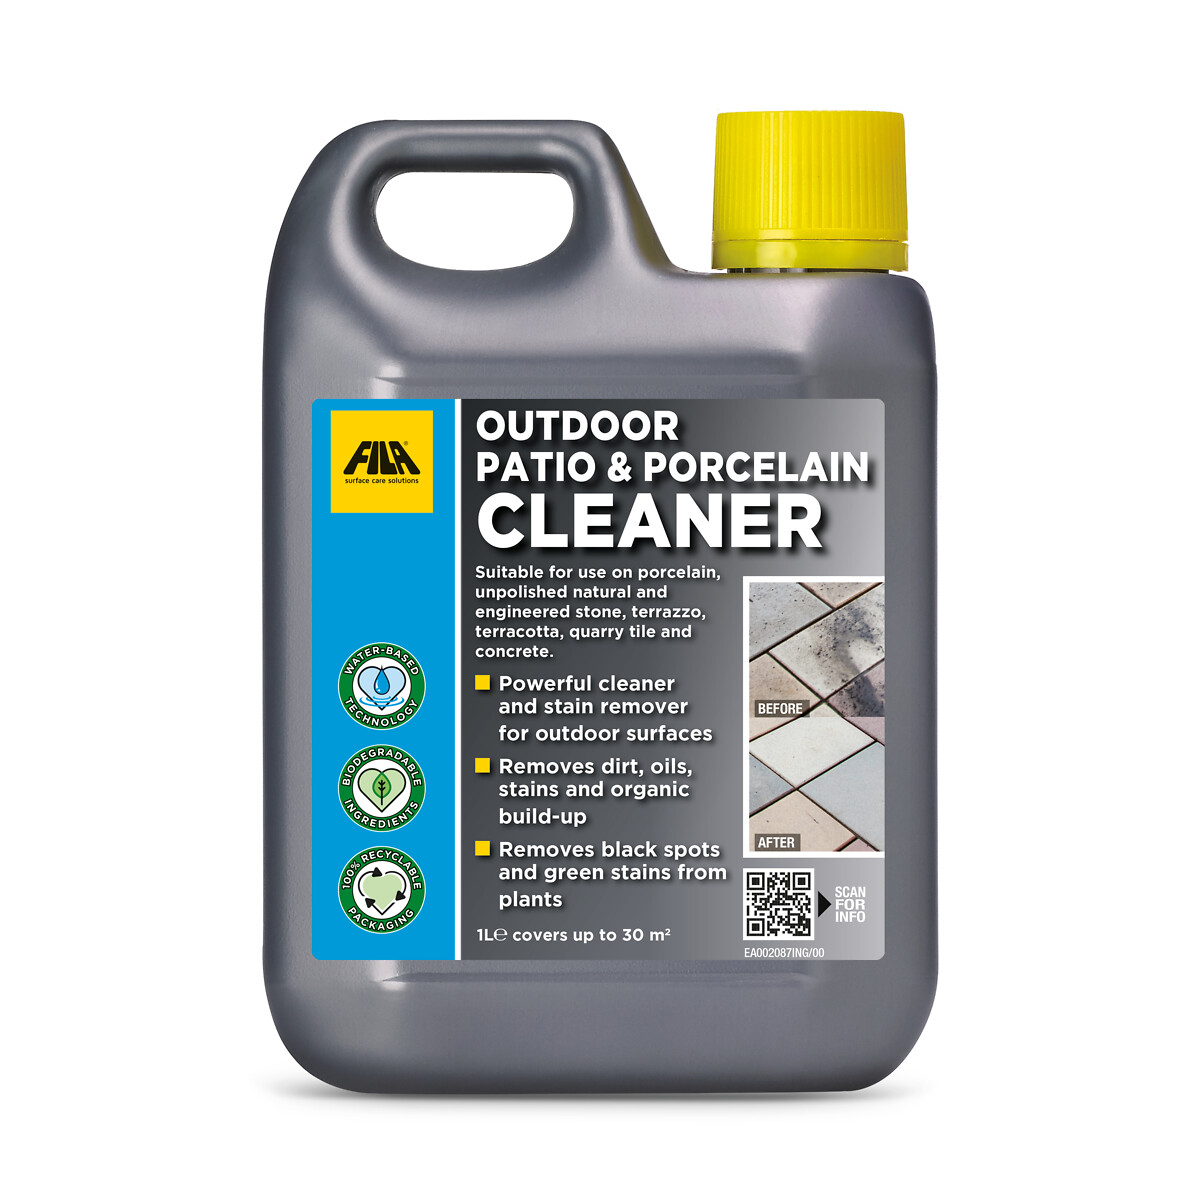
If after cleaning, there is a haze (sometimes known as grout residue) over the tiles we would recommend using a product such as Fila Outdoor Patio and Porcelain Cleaner to help remove any residue.
Watch our video
Tile Warehouse has teamed up with YouTuber Proper DIY to show you exactly how to mix, apply and remove excess grout when tiling at home. Our video not only provides handy advice for grouting but useful tips for ensuring a pro-quality finish every time.
Need more information?
If you have any questions regarding grouting your tiles, then feel free to contact our Customer Services team using our web chat facility.


