Posted on Date 20th Dec 2023
How to fit tile trims
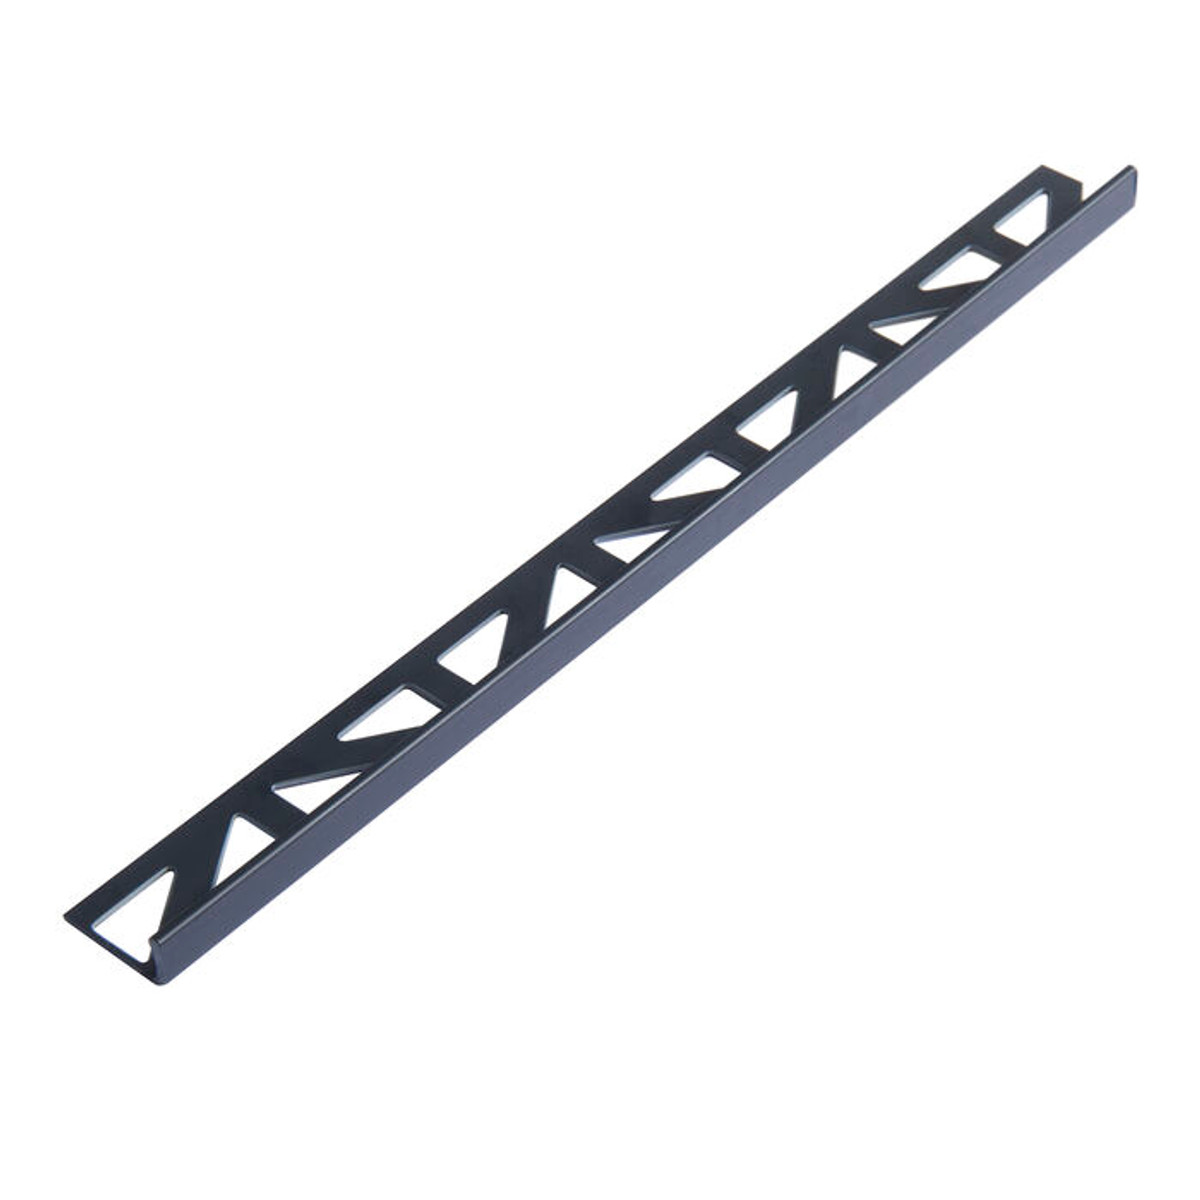
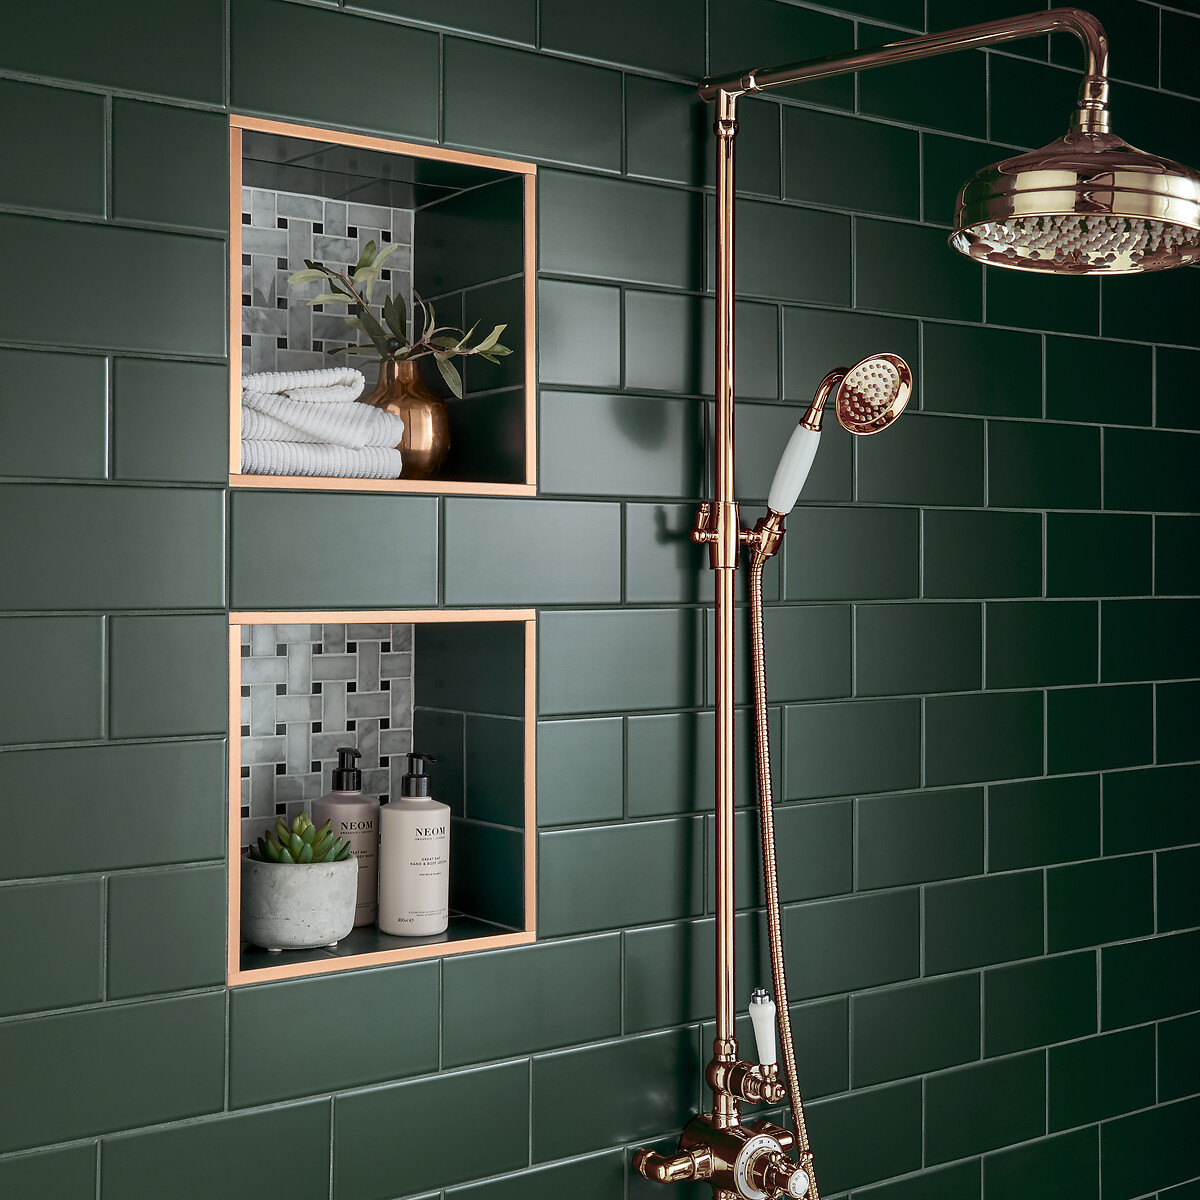
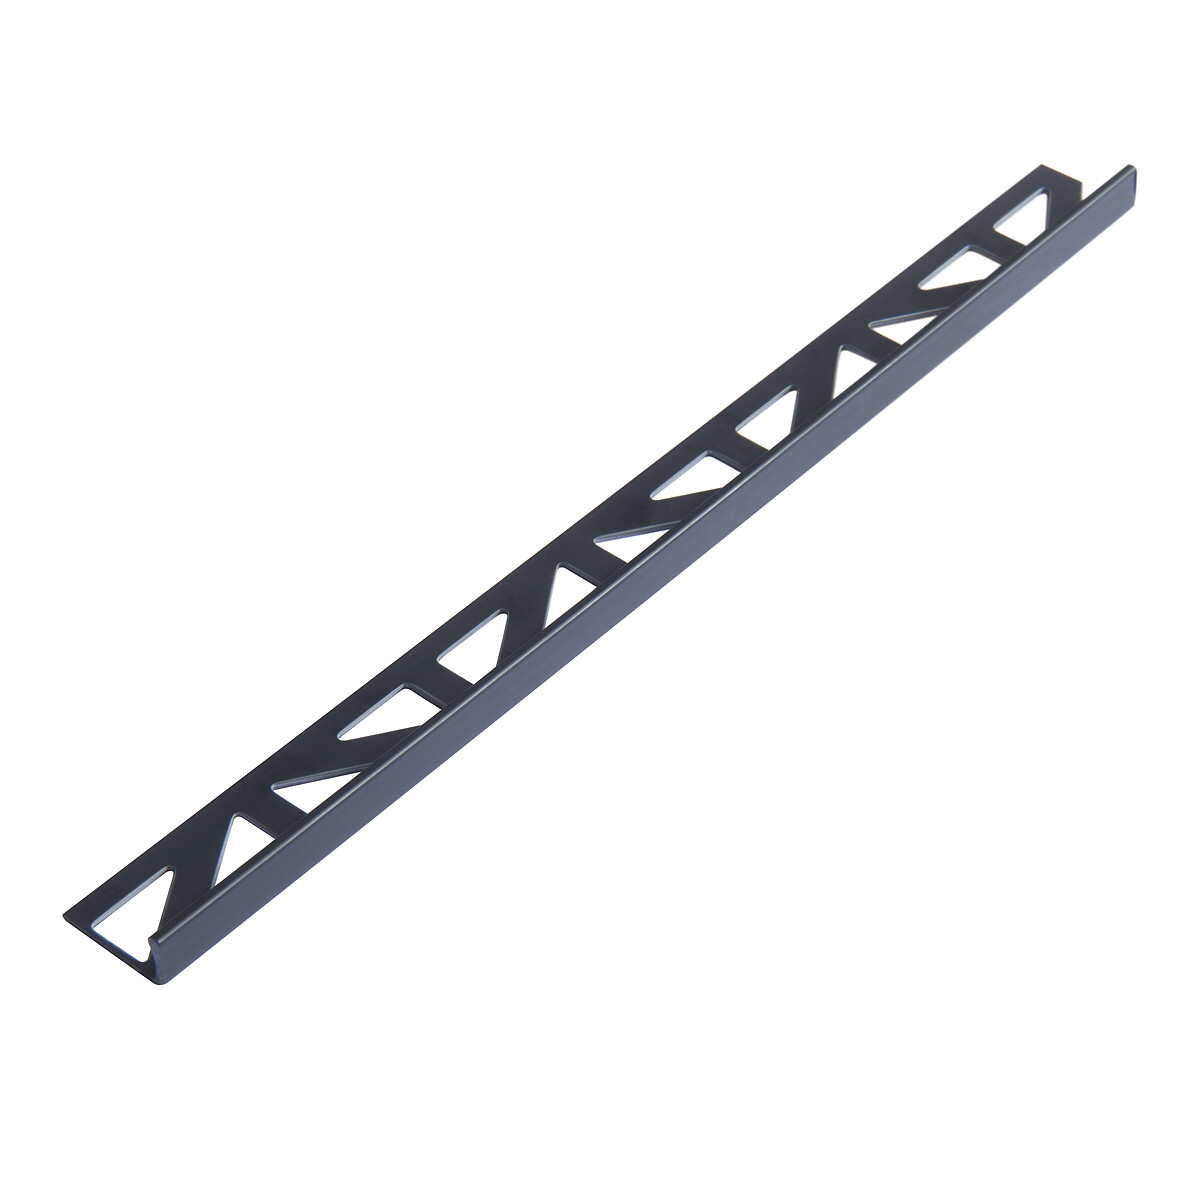
Tile trims provide the perfect finish to any exposed tiled area in your home. Not only do they leave your walls looking neat and tidy, but they also cover any sharp tiled edges that could potentially be a hazard or prone to damage, such as windows. They also add an additional layer of protection from water in wet areas.
Read on to find out how to choose the right tile trim as well as the best way to cut and install tile trims in your bathroom or kitchen at home.
Choosing tile trims
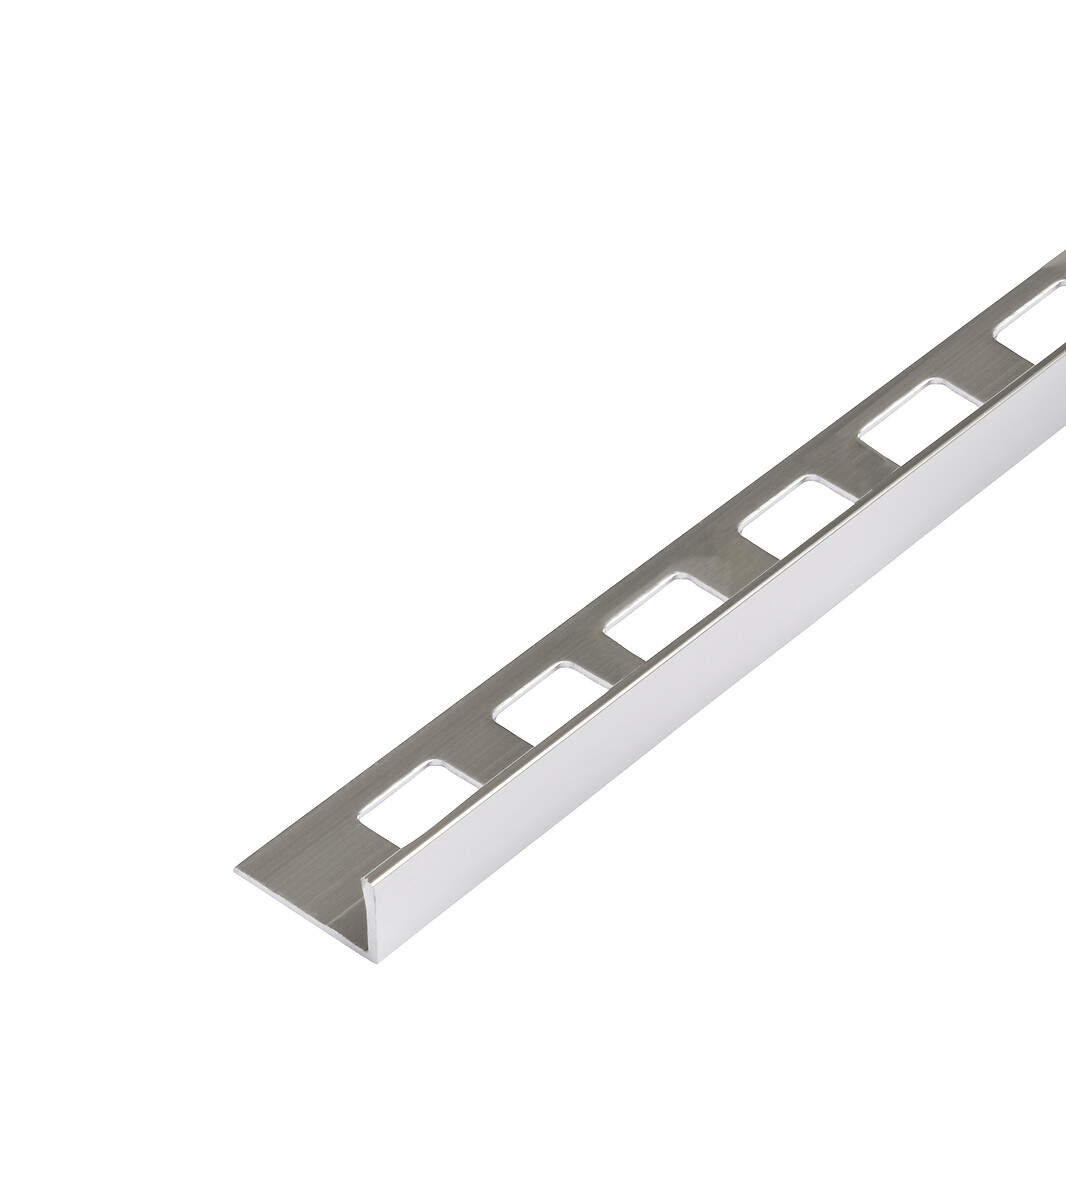
There are two main types of tile trims available to help finish off your tiling project.
You can also find ceramic, porcelain and stone tile trims on the market, but plastic / PVC and metal tile trims are by far the most popular, especially with DIYers, given their affordability and ease of use in terms of fitting and cutting.
Selecting the right tile trim depth
Tile trims dont just come in different colours. They also come with different depths ranging from 8mm up to 12.5mm.
The choice of tile trim depths allows you to match the depth of the trim with the thickness of the tile as well as account for a layer of adhesive. We always recommend choosing a trim one size up from the thickness of your tile.
For example, if your tile is 7mm thick, then choose a 10mm trim to allow for a 2mm layer of tile adhesive. This guarantees a neat, smooth fit each time.
Top Tip
Most tile trims come with a layer of protective plastic over them. Leave this on when tiling. This keeps the trim clean. When youve finished tiling simply peel of the plastic and job done!
How to cut tile trims step by step guide
For certain areas of your project, you may find that you need to cut your tile trim to fit around things such as windows.
Step 1
The first (and most important) thing you will need to do is measure the base and corners with a tape measure to work out how much tile trim you will need.
Step 2
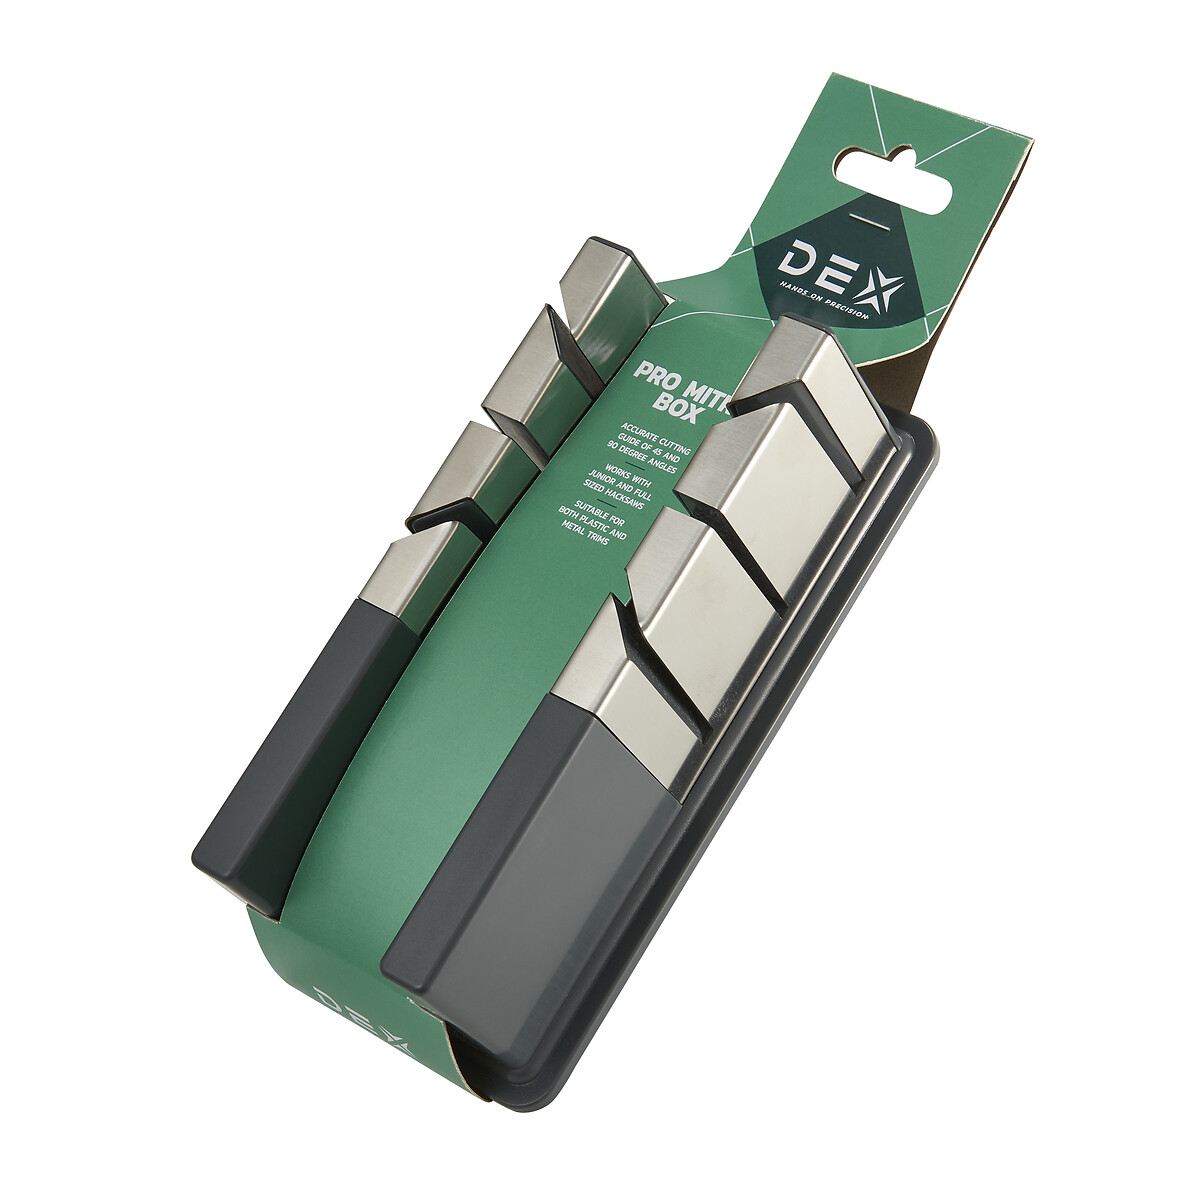
Once youve got your measurements, place the trim in a mitre block and choose which angle to cut with your tile trim. The mitre block is purposely designed to help provide precise cuts and angles. We would always recommend 45-degree angles. This way the separate pieces fit together easily to leave a clean finish. Its also worth marking on your trim exactly where you will be cutting.
Step 3
When ready cut the trim at a 45-degree angle using a hacksaw with a new blade. Always hold the trim firmly against the edge of the mitre block throughout to ensure a clean cut. If you do not need to mitre the trim, simply cut it at a 90-dgree angle to the exact length required.
What tools do I need to cut tile trims?
To cut tile trims you will need the following:
- Mitre block
- Hacksaw (and a fresh blade)
How to fit tile trim
To fit your tile trim, firstly mix your adhesive in the normal way and then apply as normal using a notched trowel.
When ready simply press the tile trim into the tile adhesive ensuring the adhesive passes through the anchor holes and is firmly in place. Then position the tile so it is flush to the rear of the trim and repeat the process with the remaining tiles. We would suggest adding adhesive to the back of the tile as well before applying to the trim to ensure an even strong bond between tile and trim.
In areas of your home that can get wet, such as showers, we would also suggest leaving a 2mm gap between the trim and the tile edge. This space should then be grouted to minimise the risk of water penetrating between tile and trim.
Watch our video
If you need more information about fitting tile trims at home, make sure to watch our video below featuring hit YouTuber Proper DIY. It shows you the different ways of fitting tile trims and includes advice on cutting tile trims as well as filing tile trims.
Need more information?
If you have any questions regarding selecting the right tile trims for your home, then feel free to contact our Customer Services team using our web chat facility.


