Posted on Date 20th Dec 2023
How to fit split face tiles
Where can you fit split face tiles?
Split Face tiles are for walls only which makes them perfect for pretty much every room in the home, especially those high traffic areas like the bathroom, kitchen and living room. They also work equally well outdoors although the tiles must have a lip or ledge fixed to the top of the tiles to ensure no water can get in behind them.
However, they are not suitable for wet areas in the home like enclosed showers where the walls are exposed to prolong periods of water.
Split Face Black Tiles 15x30cm
How to fit split face tiles: A step by step guide
Step 1: Prepare your surface
The key to any successful tiling project is preparation. So, make sure that your wall is suitably flat, sound, clean, dry and free of dust, grease or any loose material. If you need any advice on preparing your surface for tiling, then we've created this handy advice guide here.
All surfaces must be completely secure and capable of carrying the additional weight of the tiles. If you need help with preparing a wall for tiling, click here.
Step 2: Plan where you want your Split Face tiles to go
Prior to fitting Split Face tiles, we would always recommend a dry lay of your tiles on your wall. This will help ensure you are happy with the colour variation in the tiles as well as comfortable with the interlocking design of the tiles. For more information on dry laying tiles make sure to watch our video below.
Given that Split Face tiles are made from natural stone you can expect to find blemishes and minor chips. This is quite normal. The benefit of inspecting your tiles at this stage is invaluable as this is a great way of identifying any such tiles and potentially pre-selecting these pieces as the ones you are going to cut when tiling around a window or the edge of a wall for instance.
We would always recommend using an electric tile cutter for use with natural stone products such as Split Face tiles. Click here to review the great range of high quality, low-cost electric tile cutters available from Tile Warehouse.
Step 3: Fitting your Split Face tiles
Once you've worked out where you want your tiles to go (and identified those tiles you would like to cut), its time to start fitting your Split Face tiles to your wall.
Using your notched trowel, apply a layer of adhesive directly onto your wall before taking the flat side of your trowel and smooth over the adhesive to create a ridge free bed of adhesive. Always follow the instructions provided with your adhesive for mixing prior to fitting.
We would also strongly advise that you back butter the reverse of each Split Face tile with adhesive to create the strongest possible bond to your wall as well as smooth out any potential uneven surfaces on the reverse of the mosaic created by natural stone.
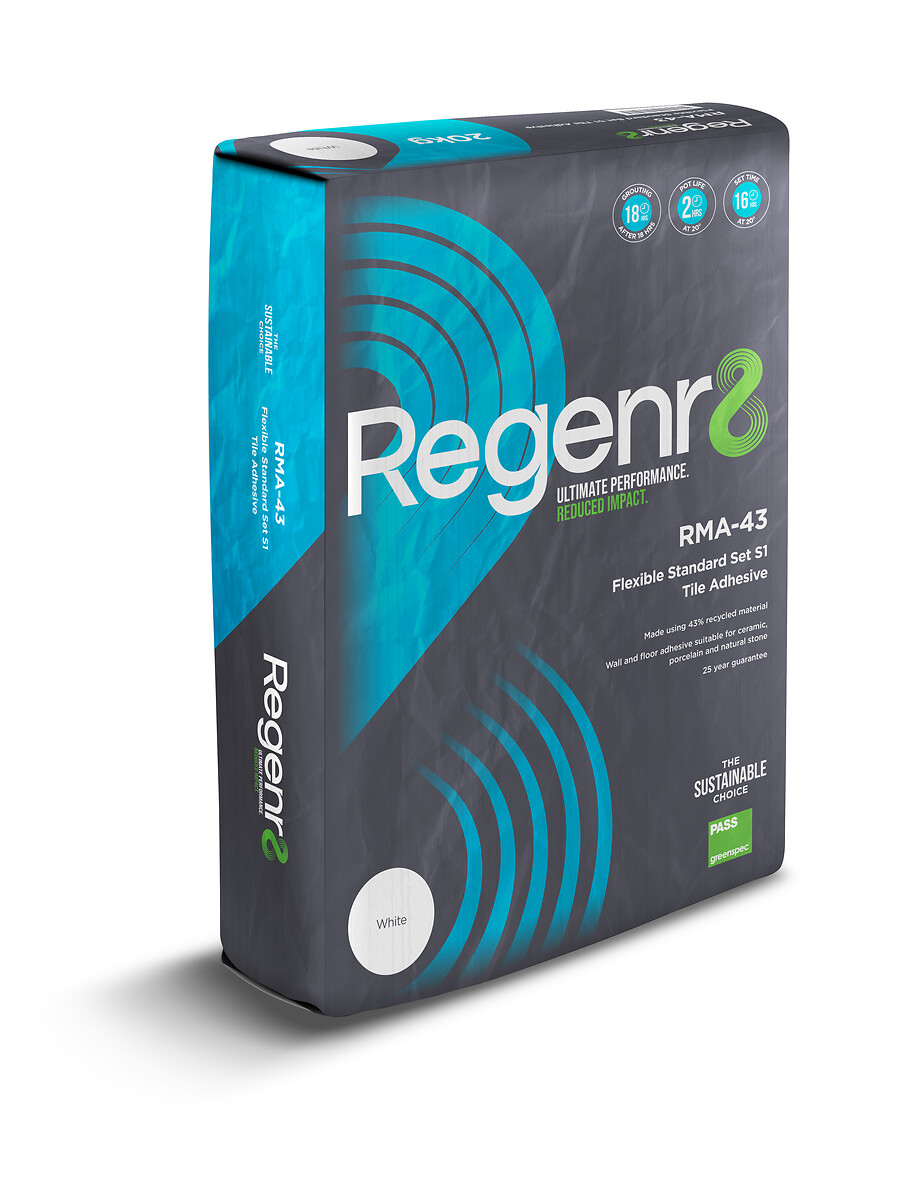
We would also recommend using a white adhesive such as Regenr8 if fitting light coloured Split Face tiles to prevent possible discolouration. Recently launched by Tile Warehouse, Regenr8 is a trade quality range of adhesives that have environmental sustainability as their cornerstone thanks to their use of eco-sand.
Unlike either ceramic or porcelain wall tiles, Split Face tiles require no grouting. The interlocking design of the tiles means they are designed to be butted up together during fitting to create a seamless look on your walls. However, you may find that a small bit of matching grout may need to be applied with your finger to fill any odd spaces that may naturally occur.
Step 4: Clean your Split Face tiles before sealing
Once your tiles have been fitted to the wall, we would advise brushing gently with a soft brush to remove any debris or dust. You could also wash down the tiles with a neutral stone cleaner such as Fila Multi Surface Cleaner or a grout remover such as Fila Instant Grout Remover. This will ensure your tiles are clean prior to being sealed. Fila Multi Surface Cleaner
Step 5: Sealing Split Face tiles
Sealing your tiles using a product such as Fila MP90 Eco Xtreme provides protection against wear and tear as well as dirt and dust.
Prior to use, always read the instructions provided by the manufacturer. Using a small brush, apply the sealer lightly but uniformly to an area of 1 sqm at a time. Once complete, leave for 30 minutes before wiping over the Split Face tiles with a dry cloth to remove an excess sealant. Then allow further 60 mins before applying a second coat.
The sealer should be touch dry within a couple of hours but will take a further 2-3 days before they have been fully sealed and fully resistant and ready to use.
Most popular place in the home to fit Split Face tiles
Split face tiles have fast become a firm favourite with people looking to make a statement on their walls at home. Available in a wide range of colours and far easier to fit than traditional slate tiles, they are suitable for use in virtually every room.
Hallway
Banish bland hallways with our dramatic Split Face Black tiles. They will make an instant style statement and become a real talking point for friends and family when they visit. If you do, make sure to contrast with light furnishings to stop the hallway feeling a little too dark.
Fireplace
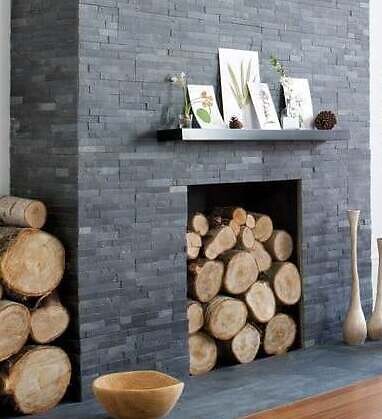
If you are lucky enough to have a fireplace, then make sure to clad your chimney breast with our Split Face Dark Grey tiles. It will give your room a really natural feel, helping to make everyone nicely calm and collected while lounging on the sofa or tucked under the duvet watching a movie.
Kitchen Splashback
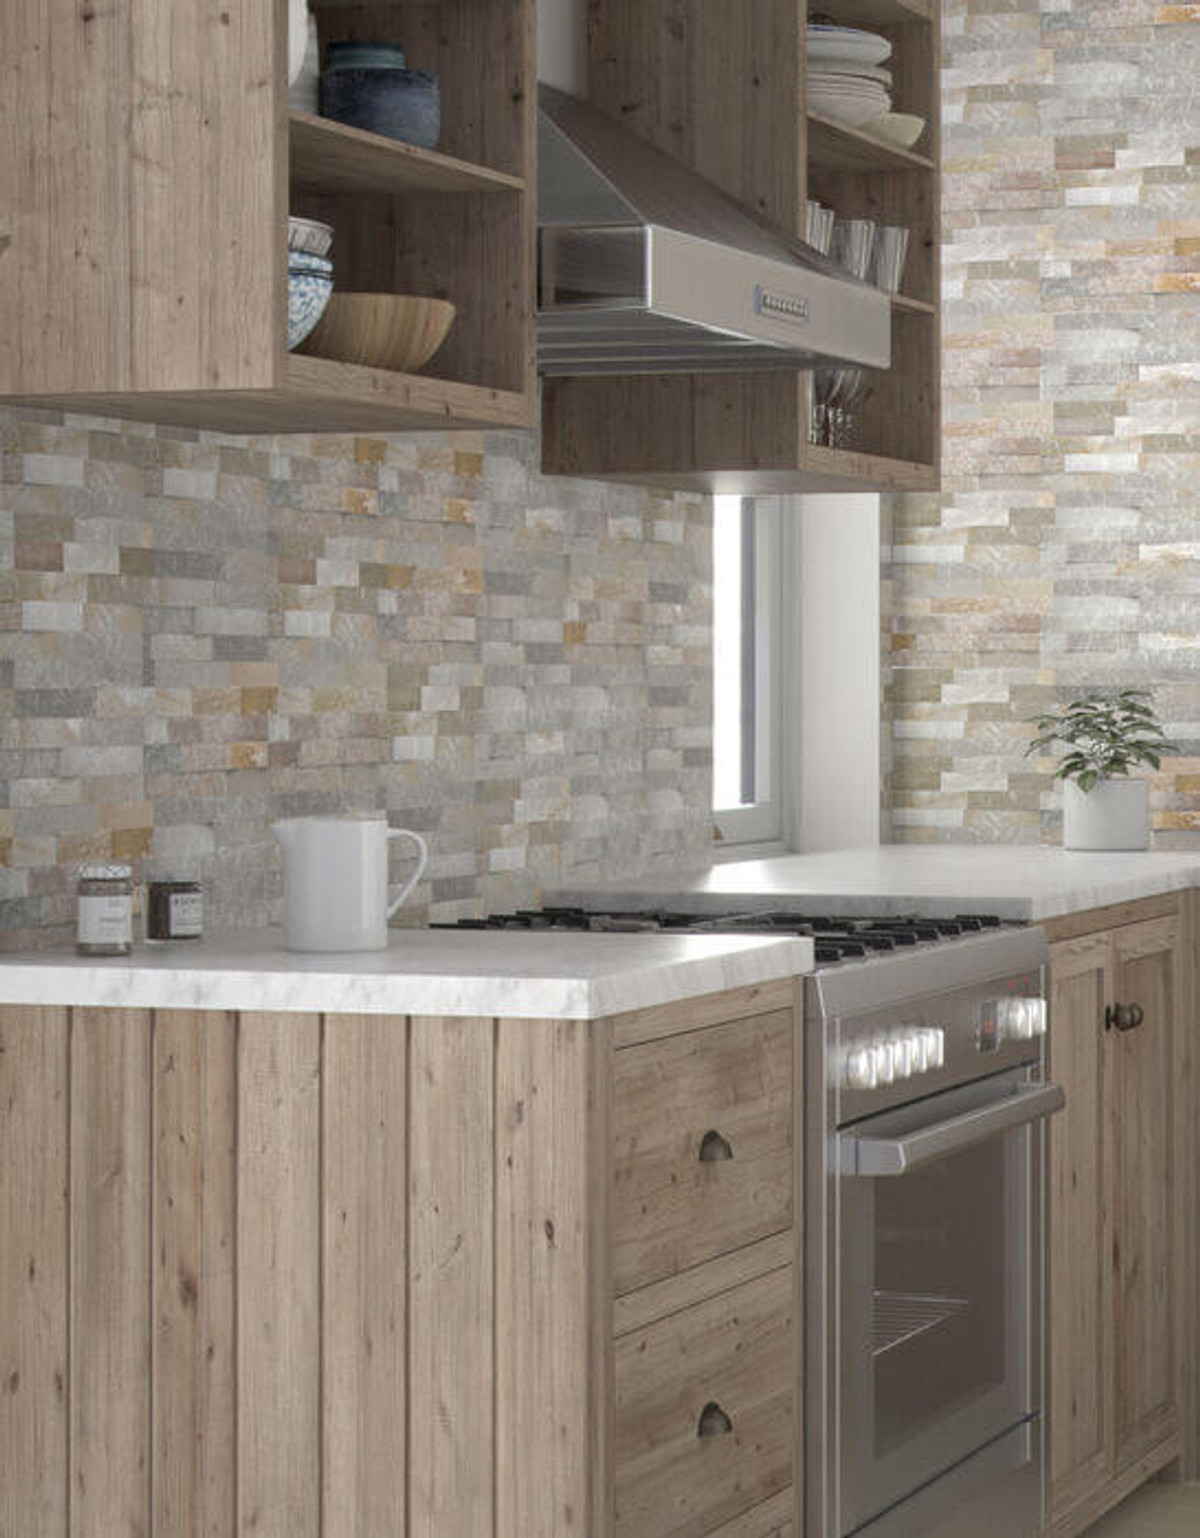
Combine the old and the new in your kitchen with our Split Face Light Grey tiles. Perfect for kitchen splashbacks, the combination of grey, brown and copper will give your room a really rustic and warm feel.
Need more information?
If you have any questions regarding split face tiles, then feel free to contact our Customer Services team.


